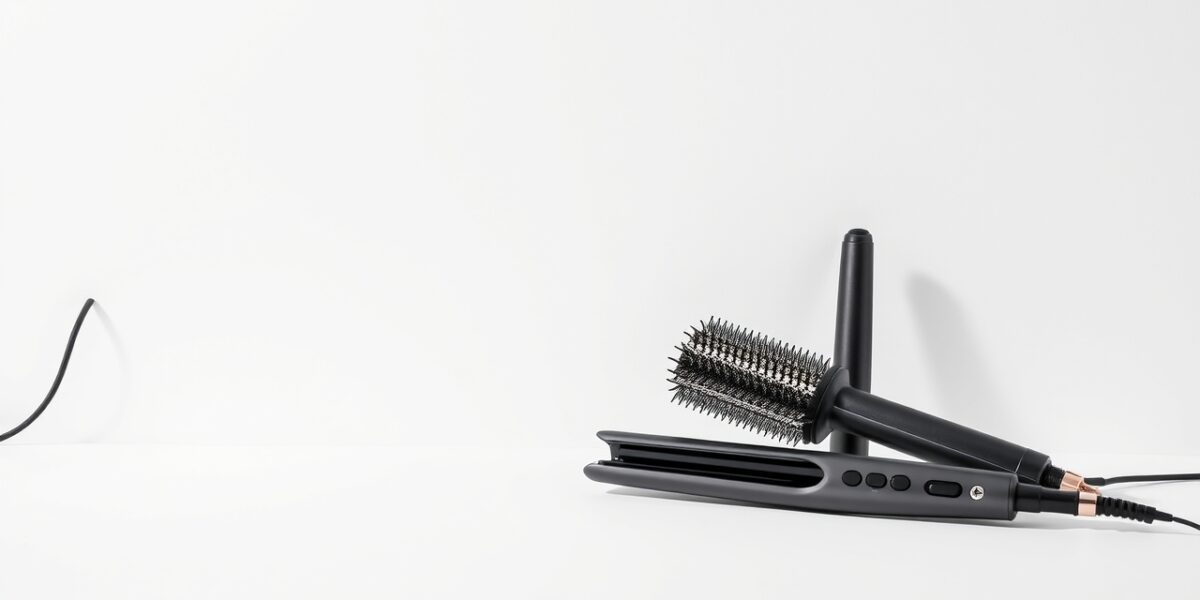
Heat styling has become a staple in daily beauty routines, but every time you pass a straightener, curling wand, or blow dryer over your hair, you’re exposing your strands to temperatures that can strip moisture, weaken keratin bonds, and ultimately lead to breakage and frizz. Understanding how to protect your hair from heat damage isn’t just about choosing the right tools—it’s about mastering a holistic routine that respects your hair’s unique needs.
How to Protect Hair from Heat Damage
Before you even pick up a tool, you need to know the science behind the damage and the steps that can keep your hair healthy. Heat styling works by breaking down the disulfide bonds in keratin, the protein that gives hair its structure. When these bonds are repeatedly disrupted, the hair shaft becomes porous, loses elasticity, and shows visible signs of damage such as split ends, dryness, and dullness. The goal is to keep those bonds intact while still achieving the look you desire.
Know Your Hair Type and Its Heat Tolerance
Every strand of hair reacts differently to heat. Below is a quick guide to determine the safest temperature range for your specific hair type:



- Fine or thin hair: Porous and prone to dryness. Use lower heat settings (300–350°F / 150–175°C) and limit the number of passes.
- Medium or normal hair: Moderate density. A temperature range of 350–400°F (175–205°C) works well for most straightening and curling tasks.
- Coarse or thick hair: Dense and holds heat longer. Higher temperatures (400–450°F / 205–230°C) may be necessary, but always use a heat protectant.
- Curly or afro-textured hair: Highly porous and fragile. Keep heat below 350°F (175°C) and consider heat-free styling methods whenever possible.
Heat Protectant Tips: The First Line of Defense
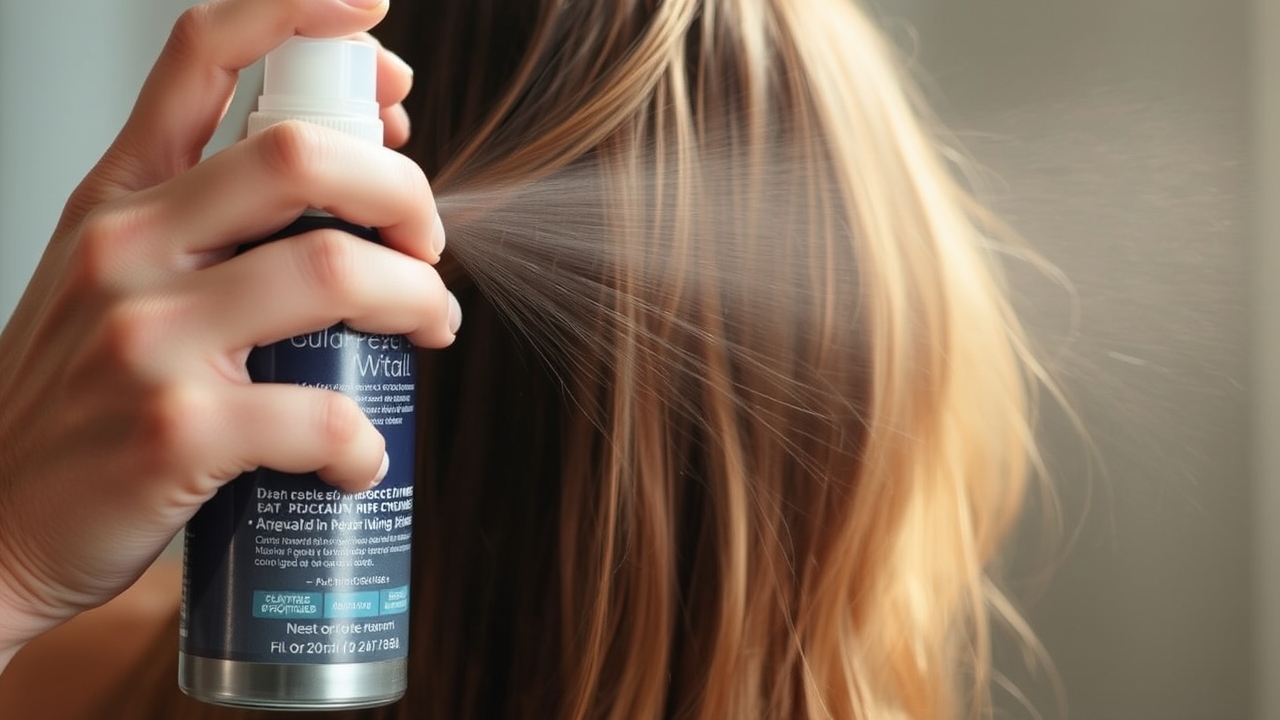
Choosing and applying a heat protectant correctly is the most effective way to prevent damage. Here’s a deeper dive into selecting the right product and how to use it:
1. What to Look For in a Formula
- Silicones and polymers: These create a protective film that reflects heat. Common ingredients include dimethicone, cyclopentasiloxane, and amino acid polymers.
- Moisturizing agents: Glycerin, panthenol, and natural oils (argan, jojoba) help replenish lost moisture.
- Heat‑transfer enhancers: Titanium dioxide or mica can help distribute heat evenly.
- Lightweight vs. heavy: Fine hair benefits from sprays or mists; thicker hair can tolerate creams or leave‑in conditioners.
2. Application Technique
- Start with damp hair: After washing, towel‑dry until 80% dry. This allows the protectant to penetrate before heat exposure.
- Even distribution: Spray or mist from mid-length to ends, then comb through with a wide‑tooth comb or brush.
- Let it set: Allow 30–60 seconds for the product to form a film before applying heat.
- Reapply after rinsing: If you wash your hair after styling, use a lightweight leave‑in or a quick mist to re‑protect.
3. DIY Heat Protectant
If you prefer natural ingredients, you can create a simple DIY protectant by mixing:
- 1 tablespoon of coconut oil (for moisture)
- 1 tablespoon of aloe vera gel (for soothing)
- 10 drops of essential oil (lavender or rosemary for fragrance)
- Spray the mixture onto a cotton pad and apply to damp hair.
Safe Heat Styling Practices
Even with a protectant, your habits matter. Below are actionable steps to reduce heat stress:
1. Use the Lowest Effective Temperature
Start at the lowest setting that gives you the desired result. Test on a small section; if it’s not enough, increase gradually.
2. Limit Repeated Passes
Most straighteners and curling irons are designed for 2–3 passes. More than that can overheat the hair. If you need a flawless finish, allow the hair to cool between passes.
3. Keep the Tool Moving
Static heat exposure is more damaging. Glide the iron or wand smoothly, maintaining a consistent speed.
4. Follow the Cuticle Direction
When curling, follow the natural growth direction of your hair. This reduces tension and helps the cuticle lay flat for a smoother finish.
5. Cool Down Between Styles
If you’re doing multiple styles—say, straightening one section and curling another—give the hair a minute or two to cool before moving to the next tool.
Aftercare: Moisture is Key
Heat styling strips moisture, so post‑style care is essential. Here’s a routine to keep your hair hydrated and resilient:
- Weekly deep conditioning: Use a mask with proteins (keratin, wheat protein) and humectants (glycerin, honey). Apply for 15–20 minutes, then rinse.
- Daily leave‑in: A lightweight leave‑in conditioner or serum helps seal the cuticle and adds shine.
- Nighttime protection: Sleep on a silk or satin pillowcase to reduce friction. For extra protection, wrap your hair in a silk scarf.
- Trim regularly: Trim split ends every 6–8 weeks to prevent damage from traveling up the shaft.
When to Skip Heat Altogether
There are times when your hair benefits from a heat‑free day. Consider these scenarios:
- Heat‑sensitive hair: If you notice increased breakage, frizz, or a dull appearance, reduce heat usage.
- Repair mode: After a week of intensive styling, give your hair a break to recover.
- Natural styles: Embrace waves, braids, twists, or updos that require no heat.
- Time constraints: If you’re in a hurry, use a diffuser or air‑dry to finish quickly.
Choosing the Right Tools
Not all straighteners or curling irons are created equal. Look for these features to maximize safety and performance:
- Temperature control: Adjustable settings let you match your hair type.
- Even heat distribution: Plates or barrels made of ceramic, tourmaline, or titanium provide consistent heat.
- Safety features: Auto‑off timers, cool‑touch handles, and heat‑resistant grips reduce burn risk.
- Plate size: Smaller plates (1.5–2 inches) are ideal for fine hair; larger plates (2–3 inches) work better for thick hair.
- Warranty and brand reputation: Invest in a reputable brand to ensure quality and customer support.
How to Protect Hair from Heat Damage During Travel
Traveling often means limited access to your usual styling routine. Here’s how to keep your hair safe on the go:
- Pack a travel‑size heat protectant: A small bottle of spray or cream will do.
- Choose a compact straightener: A 5‑inch ceramic straightener is lightweight and efficient.
- Use a heat‑resistant hair wrap: Wrap your hair in a lightweight, heat‑resistant scarf before styling.
- Plan for a heat‑free day: Schedule a day with natural styles or a quick blow‑dry to give your hair a break.
FAQs About Heat Damage and Protection
1. How often can I use heat styling tools without causing damage?
Most experts recommend limiting heat styling to no more than 2–3 times per week. If you need to style daily, always use a heat protectant and keep the temperature low.
2. Can I use a heat protectant if my hair is already damaged?
Yes—heat protectants help reduce further damage, but they won’t repair existing breakage. Pair them with protein treatments and regular trims.
3. What’s the difference between a heat protectant spray and a leave‑in conditioner?
Sprays are lightweight and designed to form a barrier against heat. Leave‑in conditioners provide longer‑lasting moisture and can also offer heat protection if they contain silicones or polymers.
4. Are natural oils safe to use as a heat protectant?
Light oils like argan or jojoba can help seal the cuticle, but they can weigh down fine hair. Use sparingly and pair with a silicone‑based spray for a balanced approach.
5. When should I consider professional treatments instead of home care?
If you notice persistent split ends, extreme dryness, or color fading, a professional deep conditioning or protein treatment can provide intensive repair that’s hard to achieve at home.
Conclusion
Protecting your hair from heat damage is a combination of smart choices, proper technique, and consistent aftercare. By understanding your hair type, using the right protectant, choosing the right tools, and giving your strands time to recover, you can enjoy the styles you love without compromising health. Remember: the goal isn’t to eliminate heat styling entirely but to do it responsibly, so your hair stays strong, shiny, and resilient for years to come.
For more in-depth information on heat styling and its science, visit the Wikipedia page on heat styling.
Leave a Reply