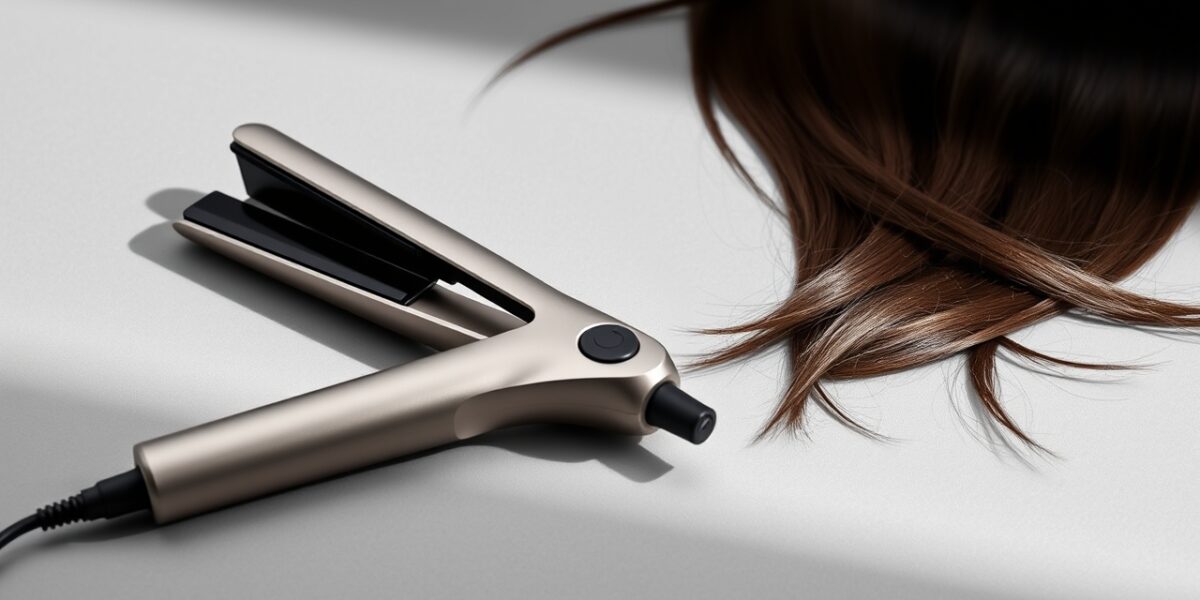
How to straighten curly hair can transform your style, but it requires the right technique and tools to avoid frizz and damage. This guide walks you through every step, from preparation to finishing, so you can achieve silky, straight hair that feels healthy.
1. Understand Your Curl Pattern
Before you even pick up a flat iron, you need to know what type of curls you have. The International Curls Classification (I, II, III, IV) helps you choose the right heat and technique:
- I (Straight): No curl, but may have slight wave.
- II (Wavy): S‑shaped waves.
- III (Curly): Tight corkscrew curls.
- IV (Coily): Dense, tight coils with a defined pattern.
Knowing your curl type determines how much heat you need and how many passes the iron will make. For example, III curls often require a higher temperature and two passes, while II waves can be straightened with a single, gentle pass.



2. Choose the Right Flat Iron
Not all flat irons are created equal. Look for these key features:
- Adjustable temperature: Allows you to set the right heat for your hair type.
- Plate material: Ceramic or tourmaline plates distribute heat evenly and reduce static.
- Plate width: Wider plates (1.25–1.5 inches) are great for thick curls; narrower plates (0.5–0.75 inches) work better for fine hair.
- Heat‑resistant handle: A comfortable grip prevents accidental burns.
For home use, a 1.25‑inch ceramic flat iron with a temperature range of 300–400°F works for most curl types. If you’re a professional stylist or have extremely thick, coarse hair, consider a 1.5‑inch tourmaline iron that can reach up to 450°F.
3. Pre‑Styling: Washing and Conditioning
Proper prep is the cornerstone of damage‑free straightening. Follow these steps:
- Wash with a smoothing shampoo: Look for products that leave hair moisturized and reduce frizz. A clean base ensures the heat can distribute evenly.
- Deep condition: Use a hair mask that targets moisture retention. Thick, dry curls benefit the most from a good conditioning step.
- Rinse with cool water: This helps close the cuticle, locking in moisture.
- Pat dry, don’t rub: Use a microfiber towel or a cotton T‑shirt to remove excess water. Rubbing can cause breakage and create static.
After washing, let your hair air‑dry until it’s damp—roughly 80% dry. This level of moisture is ideal for heat styling because it reduces the risk of heat damage.
4. Protecting Your Hair from Heat
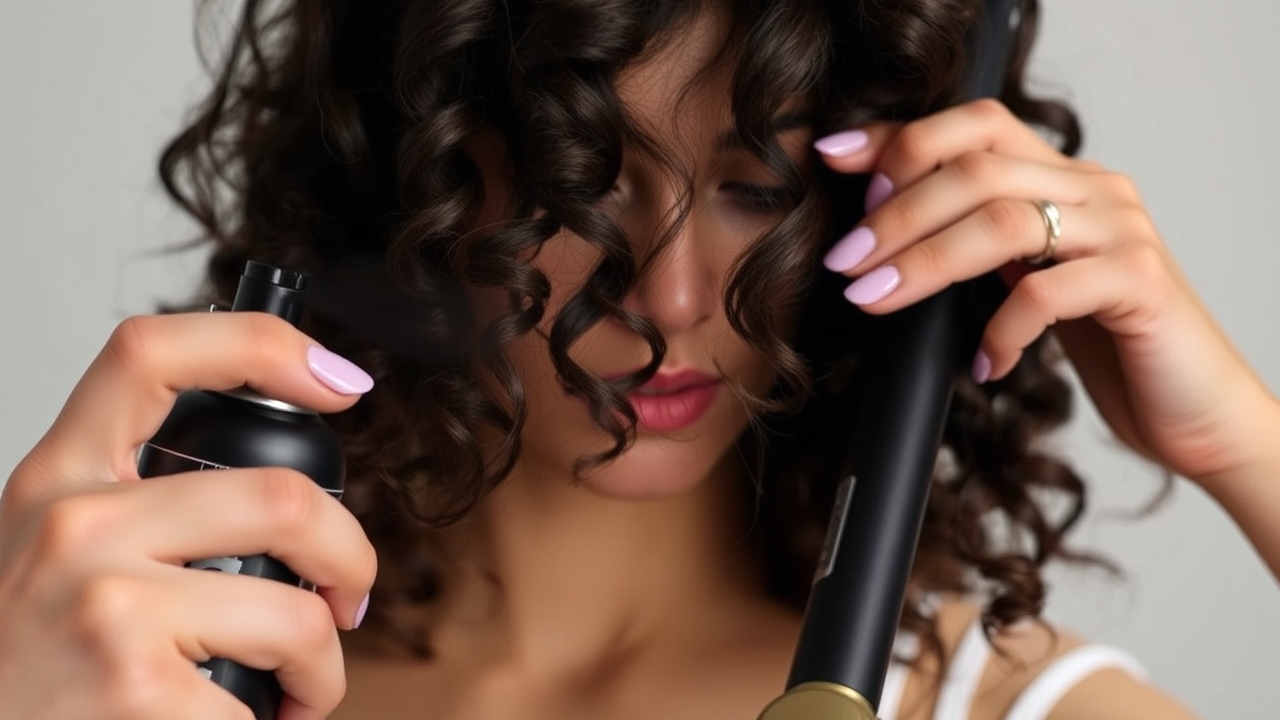
Before you even touch the flat iron, apply a heat protectant spray or serum. This layer creates a barrier that shields the cuticle from temperatures that can scorch the hair. For thick curls, a richer formula containing silicone or natural oils works best. If you’re trying to straighten thick curls, ensure the protectant covers every strand.
Tips for applying protectant:
- Hold the bottle 6–8 inches from your hair and spray evenly.
- Use a wide‑tooth comb to distribute the product through damp strands.
- Let the protectant sit for 30 seconds before styling.
5. Heat Settings Explained
The temperature you set on your flat iron depends on your hair’s thickness, porosity, and damage level. Curly hair generally needs a higher heat setting than straight hair, but avoid going too hot. A good rule of thumb is:
| Curl Type | Fine/Thin | Medium | Thick |
|---|---|---|---|
| Temperature (°F) | 300–350 | 350–375 | 375–400 |
| Temperature (°C) | 149–177 | 177–191 | 191–204 |
If you’re unsure, start lower and work your way up. Remember, you can always add heat but can’t remove it once it’s applied.
6. The Straightening Technique
Follow these steps for a flawless finish:
- Section the hair: Divide your hair into 4–6 sections depending on thickness. Use hair clips to keep each section separate.
- Clamp the iron: Hold the flat iron at a 90‑degree angle to the scalp. The plates should be parallel to the hair shaft.
- Move slowly: Glide the iron from root to tip, keeping the plates in contact for 1–2 seconds per pass.
- Repeat if needed: A single pass often suffices for fine curls, but thicker curls may require two passes for optimal straightening.
- Cool the section: After each pass, let the section cool for a few seconds before moving on to reduce heat exposure.
For “curly to straight” rares, use a high‑quality flat iron with a ceramic or tourmaline plate to reduce static and provide even heat distribution.
7. Post‑Styling: Sealing the Cuticle
Once you’ve straightened all sections, apply a lightweight serum or a small amount of leave‑in conditioner to the strongest strands. A silicone‑free product helps maintain shine without weighing the hair down. Finish with a light mist of hairspray to lock the style, but avoid heavy products that can cause buildup.
8. Aftercare: Maintaining Straightness and Health
Even after you’ve straightened, the hair continues to need care. Use a sulfate‑free shampoo when washing, and consider a protein treatment once a month to strengthen the strands. For those who frequently use heat, incorporating a deep conditioning mask every two weeks can help maintain moisture levels.
9. Common Mistakes & How to Avoid Them
- Over‑drying: Dry hair before heat styling can lead to breakage. Keep hair damp.
- Using too low heat: Low temperatures won’t straighten formidable curls and can cause prolonged exposure, increasing damage.
- Skipping protectant: Even with the best equipment, heat can scorch the cuticle if there’s no barrier.
- Using the same iron on all sections: A worn or uneven plate can create spotty results.
- Holding the iron too long: Prolonged contact with one spot can scorch the hair. Move quickly and keep the plates in motion.
10. Quick Tips for Long‑Lasting Straight Hair
- Use a silk or satin pillowcase to reduce friction while sleeping.
- Apply a small amount of lightweight oil at night to prevent frizz.
- Reheat in small bursts only if necessary; avoid holding the iron for too long on one spot.
- Wrap hair in a microfiber towel or use a hair wrap to keep moisture locked in overnight.
- Use a heat‑resistant glove for extra safety when handling the iron.
11. Tool Recommendations & Where to Buy
When looking to straighten curly hair, choose a flat iron that offers adjustable temperature control and a ceramic or tourmaline surface. These plates distribute heat evenly and reduce static, which is especially important for thick curly hair. For a professional look, you can find a range of straightening tools at Sale Hair Straighteners, where you’ll discover options that suit various curl types.
12. Professional vs DIY: When to Get a Salon
While many homeowners can achieve great results at home, there are times when a salon visit is worth the investment:
- Severe damage: If your hair is brittle or has a high porosity, a professional can apply a deep protein treatment before straightening.
- High‑volume styling: For events that require a flawless look, a stylist can use a larger flat iron and a blow‑drying technique to lock in the straightness.
- Color protection: A salon can use heat‑protectant sprays formulated for color‑treated hair, preventing fading.
- Time constraints: If you’re on a tight schedule, a stylist can straighten your hair in a fraction of the time it takes to do it yourself.
FAQ
- How to straighten curly hair without damaging it? Use a heat protectant, keep the iron at the appropriate temperature, and avoid repeated passes over the same section. Moisturizing treatments before and after also help.
- What temperature should I use to straighten thick curls? For thick curls, set your flat iron between 375–400°F (191–204°C). Test a small section first to ensure the heat isn’t too high.
- Can I straighten curly hair with a non‑flat iron tool? While a curling iron can create temporary straightness, a flat iron is designed to give a smoother, longer lasting straight look.
- How long does a straightened look last on curly hair? With proper aftercare—using silicone‑free products, a silk pillowcase, and a lightweight hairspray—you can keep the straight look for a day or two. For longer wear, use a heat‑resistant styling spray.
- Will straightening cause permanent damage? Regular, high‑heat styling can weaken the hair shaft over time. Using a heat protectant and limiting the number of straightening sessions per week can reduce the risk.
By following these steps, you can learn how to straighten curly hair safely and achieve a polished, sleek look that stays smooth all day.
Leave a Reply