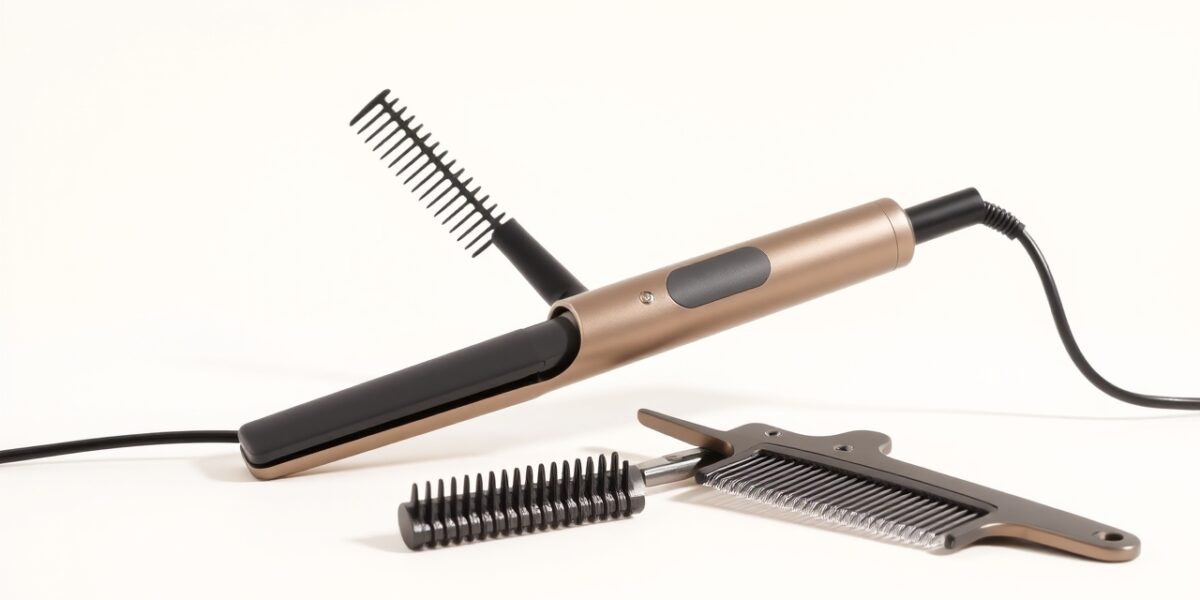
How to straighten hair without damage is a common goal for anyone who loves sleek styles but hates the aftermath of heat. The trick isn’t to avoid heat entirely; it’s to use it wisely, protect the cuticle, and adopt a routine that keeps your strands resilient.
Understanding Hair Structure and Heat Damage
Before diving into tools and techniques, it helps to know what heat does to the hair shaft. The outermost layer, the cuticle, is made of overlapping scales that protect the inner cortex. When heat is applied, the cuticle lifts. If the temperature is too high or the exposure too long, the scales can’t re‑seal, leaving the cortex exposed. This leads to dryness, brittleness, and breakage.
Heat damage is cumulative. A single high‑temperature session can set the tone for weeks of fragility. That’s why a gentle, well‑protected approach is essential.



Step‑by‑Step Guide to Damage‑Free Straightening
1. Start with a Healthy Foundation
- Trim regularly. Split ends are the most vulnerable to heat damage. Trimming every 6–8 weeks removes the damaged portion and prevents split ends from traveling up the strand.
- Use a sulfate‑free shampoo. Harsh sulfates strip natural oils that protect the hair shaft. A gentle cleanser preserves moisture.
- Deep condition weekly. Incorporate a protein or moisture mask to strengthen the hair’s internal structure. Look for ingredients like keratin, panthenol, or natural oils.
- Limit chemical treatments. Color, relaxers, or perms can already weaken the cortex. If you’re straightening frequently, consider a lower temperature or a “no‑heat” day each week.
2. Protect Before You Heat
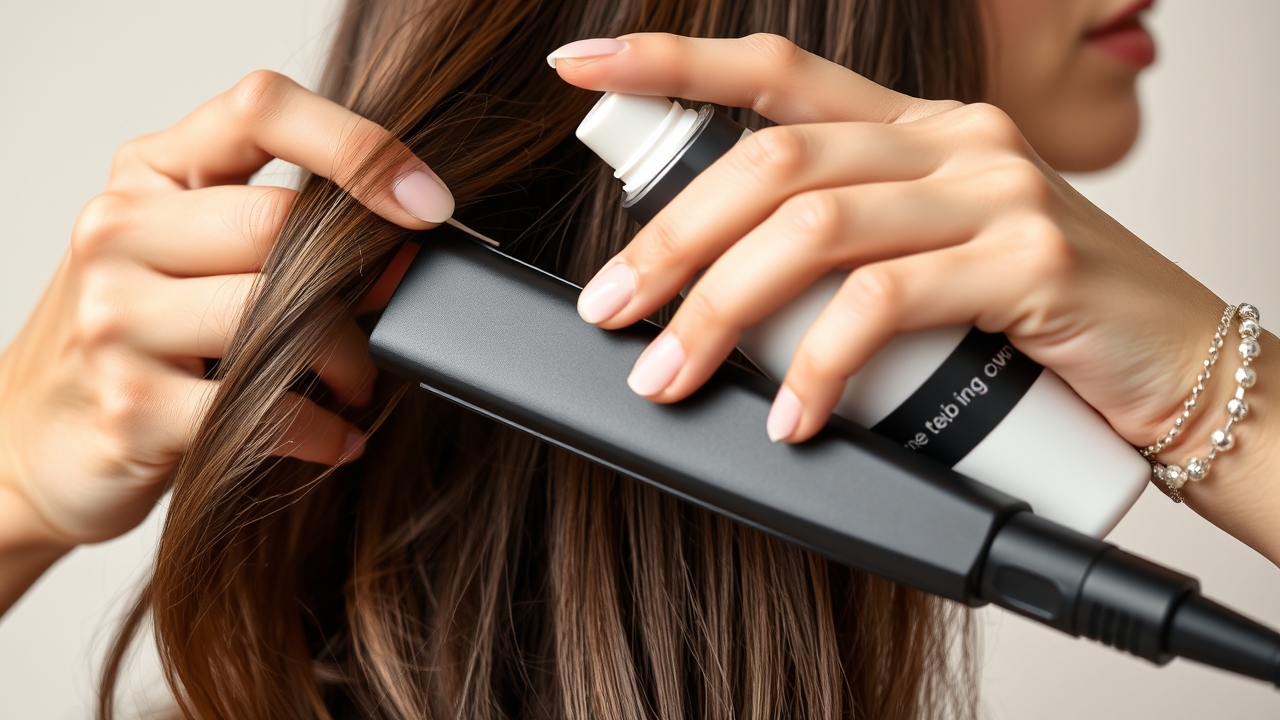
Heat protectants are your first line of defense. They form a barrier that reduces direct heat contact, lowers the temperature needed to straighten, and locks in moisture.
- Choose a spray or serum. Sprays are great for quick coverage, while serums provide extra slip for thicker hair.
- Apply evenly. Work the product from roots to ends, ensuring every strand gets coated.
- Let it dry. Allow the protectant to form a thin film before you start heating.
- Use a leave‑in conditioner. For extra hydration, especially on fine or dry hair.
3. Select the Right Flat Iron
Not all flat irons are created equal. When aiming for safe straightening, consider the following features:
- Temperature control. Adjustable settings between 300°F and 400°F let you customize heat based on hair type.
- Ceramic or tourmaline plates. These materials distribute heat evenly, reducing hot spots that can scorch hair.
- Auto‑off timer. A built‑in safety feature prevents accidental overheating.
- Plate width. Wider plates (1.5–2 inches) reduce the number of passes needed for thick hair, while narrower plates (0.5–1 inch) are ideal for fine strands.
4. Master the Technique
Even the best tools can cause damage if used incorrectly. Follow these steps for a damage‑free result:
- Section your hair. Divide into manageable strands, typically 3–4 sections for medium to thick hair.
- Clip the top sections. Keep the focus on the lower section you’re straightening.
- Grab a small section. About 1–2 inches wide is ideal.
- Clamp the iron at the roots. Hold for 1–2 seconds, then slide down.
- Repeat with a gentle glide. Avoid pressing too hard; let the heat do the work.
- Finish with a cool blast. Some irons have a cool‑shot button to lock in the style.
- Use the 3‑pass rule. For thick or coarse hair, limit to no more than three passes per section to prevent cumulative heat exposure.
5. Post‑Styling Care
Once the hair is straight, the final steps are crucial for maintaining shine and preventing breakage.
- Use a lightweight serum. Apply to the ends to smooth cuticles and add shine.
- Limit towel drying. Pat gently rather than rubbing, as friction can cause frizz.
- Sleep on a satin pillowcase. Silk or satin reduces friction compared to cotton, preserving the smoothness.
- Refresh with a chilled mist. A cool water spray can close cuticles and lock in the style.
6. When to Seek Professional Help
Occasionally, a home routine may not suffice—especially for severely damaged hair. In such cases, consult a professional stylist for treatments like:
- Thermal reconditioning. A controlled heat process that restructures hair.
- Protein therapy. Improves tensile strength and resilience.
- Custom care plans. Tailored to your hair’s unique needs.
- Hair masking treatments. Deeply hydrates and repairs at the molecular level.
Safe Straightening: Tips for Different Hair Types
Fine or Dry Hair
- Use the lowest effective temperature (around 300°F).
- Apply a light oil or serum to prevent brittleness.
- Limit the number of passes—one to two per section is often enough.
- Consider a “no‑heat” day each week to let the hair recover.
Curly or Coarse Hair
- Start with a higher temperature (350°F–400°F) to break down tighter curls.
- Use a heat‑protectant with extra moisture (e.g., glycerin).
- Consider a wide‑tooth comb to reduce breakage.
- Use a “heat‑capping” technique: wrap hair in a microfiber towel before heat to lock in moisture.
Color‑Treated Hair
- Color can weaken the cuticle, so use a lower temperature and a generous amount of protectant.
- Incorporate a color‑protecting serum or leave‑in conditioner.
- Limit heat styling to a few times a week.
- After each session, apply a protein mask to reinforce the hair shaft.
Why Heat Styling Can Still Be Safe
Heat styling is not inherently dangerous; it’s the misuse that leads to damage. By following the steps above, you can enjoy the sleek look you desire while keeping your hair healthy. Learn more about heat styling science.
Common Mistakes to Avoid
- Using the highest heat setting regardless of hair type.
- Skipping the heat protectant.
- Leaving the flat iron on a section for too long.
- Rubbing hair vigorously with a towel after styling.
- Relying solely on silicone‑based products that can build up over time.
DIY vs Professional Straightening
While at‑home straightening is convenient, professional treatments like thermal reconditioning or keratin smoothing can offer longer lasting results with controlled heat. However, these services often require a higher upfront cost and a maintenance routine to preserve the results.
Product Recommendations
- Heat Protectant Spray: ghd Heat Protect Spray – lightweight, silicone‑free, and works well on all hair types.
- Leave‑in Conditioner: It’s a 10 Miracle Leave‑In – adds moisture and reduces frizz.
- Flat Iron: Dyson Airwrap Complete – offers adjustable heat settings and ceramic plates.
- Satin Pillowcase: Slip Silk Pillowcase – reduces friction and keeps styles intact.
Safety Tips for Kids & Teens
- Never leave a hot flat iron unattended.
- Use a lower temperature setting (around 300°F) if the child has thinner hair.
- Teach them to avoid touching the hot plates.
- Encourage natural styles on non‑heat days to let hair recover.
When to Stop Straightening
If you notice increased breakage, split ends, or a dull, lifeless look, it’s time to cut back on heat. Give your hair a “no‑heat” week and focus on deep conditioning and protein treatments. Consistent over‑heat can permanently alter the hair’s structure.
FAQs
- How do I know the right temperature for my hair? Start at the lowest setting and gradually increase until the hair feels smooth. Fine hair usually stays safe under 300°F, while coarse hair can handle up to 400°F.
- Can I use a flat iron on wet hair? Wet hair is more prone to damage; always dry to at least 50% moisture before heat styling.
- Will straightening cause hair loss? Excessive heat can weaken hair, leading to breakage, but proper technique and protection minimize this risk.
- What’s the best post‑styling routine? Apply a lightweight serum, pat dry, use a satin pillowcase, and refresh with a chilled mist to lock in the style.
- Where can I learn more about safe straightening? Visit our guide for detailed tips and product recommendations.
Leave a Reply