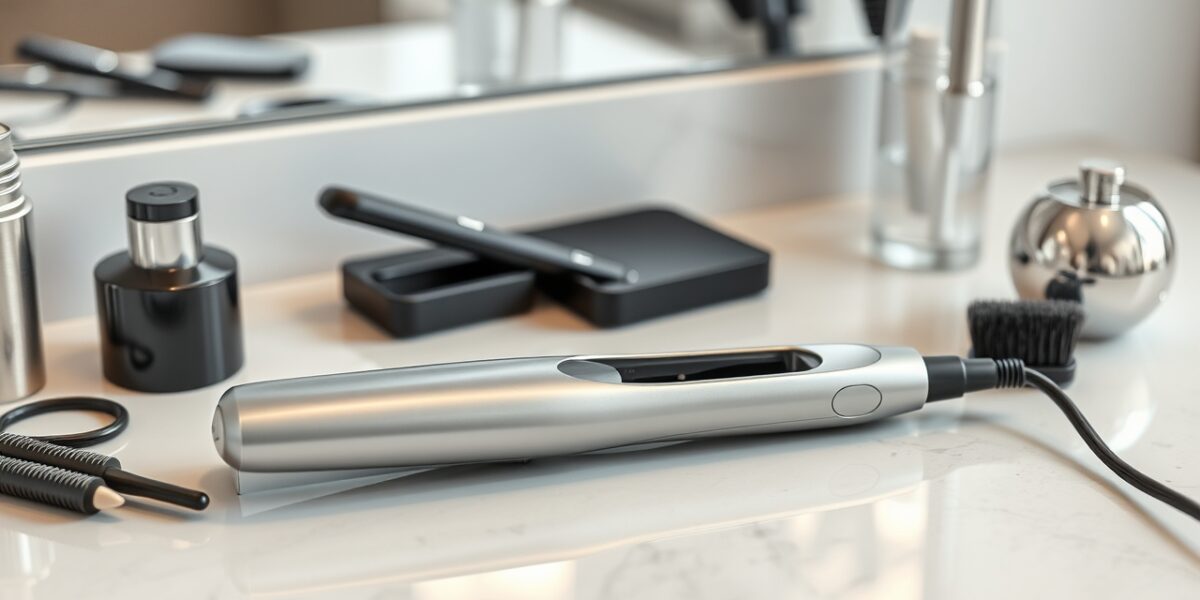
How to use a hair straightener can transform your daily routine into a salon‑like experience. This guide will walk you through every step, from choosing the right temperature to maintaining the tool for long‑term performance.
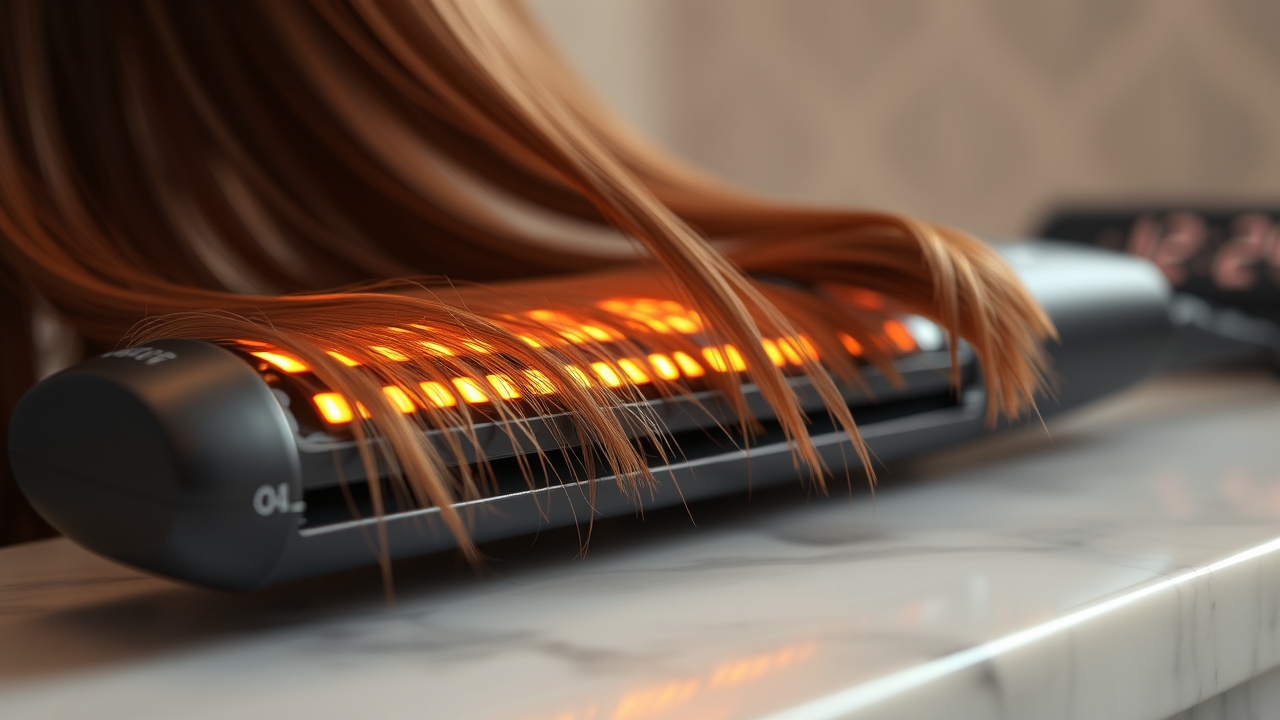
Understanding the Basics of a Hair Straightener
The core of any straightening routine is the device itself. A hair straightener, commonly known as a flat iron, uses two heated plates to apply heat and tension to the hair shaft, thereby aligning the keratin fibers. Knowing the differences between ceramic, tourmaline, and titanium plates helps you decide which material suits your hair type and styling goals.
Why Material Matters
- Ceramic: Offers even heat distribution and is gentle on most hair types.
- Tourmaline: Emits negative ions that reduce frizz and add shine.
- Titanium: Reaches higher temperatures quickly, ideal for thick or coarse hair.
Each material has its own heat range and surface texture, influencing how the straightener behaves when you glide it through your strands.



Setting the Right Temperature
Temperature is the single most critical factor when straightening. Too low, and the hair won’t straighten; too high, and you risk damage. Below is a quick reference chart based on hair thickness:
- Fine or damaged hair: 250–300°F (120–150°C)
- Medium hair: 300–350°F (150–175°C)
- Thick or coarse hair: 350–400°F (175–205°C)
Most modern straighteners feature an automatic temperature control that adjusts to the hair’s moisture content. If you’re unsure, start on the lower side and increase gradually.
Preparing Your Hair for Straightening
Proper preparation reduces the risk of heat damage and ensures a smoother finish.
Step 1: Wash and Condition
Use a sulfate‑free shampoo and a heat‑protectant conditioner. The conditioner adds moisture and makes the hair more pliable.
Step 2: Dry Thoroughly
Wet hair is more susceptible to heat damage. Use a microfiber towel to blot excess water, then let the hair air‑dry or use a blow dryer on a low heat setting.
Step 3: Apply Heat Protectant
- Choose a lightweight spray or cream.
- Apply evenly, focusing on the midsection to ends.
- Let it dry for a minute before straightening.
How to Flat Iron: A Step‑by‑Step Straightening Guide
Follow these precise steps to straighten your hair properly and achieve a sleek, polished look.
1. Section the Hair
Divide your hair into manageable sections using clips. A good rule of thumb is to create 4–6 sections, depending on thickness.
2. Set the Straightener
Turn on the device and let it reach the desired temperature. Most straighteners have a quick‑heat feature; use it for fast preparation.
3. Start at the Roots
Place the plates at the root of a section, close them, and glide down slowly. Aim for a 1–2 second travel time per section to avoid overheating.
4. Repeat with Each Section
Work methodically, ensuring each section receives the same heat exposure. Use a comb or brush to smooth the hair after each pass.
5. Finish with a Cool Down
Once all sections are straightened, let the hair cool completely before styling further. A cool down locks the hair into place.
Common Mistakes and How to Avoid Them
Even seasoned stylists sometimes make errors that lead to frizz, breakage, or uneven results. Here are the most frequent pitfalls:
- Using too high a temperature: Always start low and work your way up.
- Leaving the straightener in one spot for too long: This concentrates heat and can scorch the hair.
- Not using a heat protectant: The protective layer is essential for minimizing damage.
- Over‑clipping or over‑sectioning: Too many small sections can cause uneven tension and split ends.
Advanced Techniques for a Salon‑Quality Finish
Once you master the basics, you can experiment with techniques that elevate your styling routine.
1. The “V‑Cut” Technique
After straightening, use a fine‑tooth comb to create a subtle V‑shape at the ends. This adds dimension and reduces bulk.
2. The “Reverse” Straightening Method
Start at the ends and work upward. This method can help lock in shine and is especially effective on longer hair.
3. Using a Hair Dryer with a Concentrator
Before straightening, use a high‑speed dryer to remove moisture. A concentrator nozzle directs airflow, preventing heat from spreading too widely.
Maintenance and Care for Your Straightener
Proper care prolongs the life of your device and keeps it performing at peak levels.
- Clean the plates: Wipe with a microfiber cloth after each use. For stubborn residue, use a 50/50 vinegar‑water solution.
- Check the cord: Inspect for frays or exposed wires. Replace if necessary.
- Store properly: Keep the straightener in a cool, dry place. Avoid leaving it on a hot surface for extended periods.
- Replace plates: Over time, plates can become uneven. Replace them every 12–18 months, depending on usage.
Choosing the Right Straightener for Your Hair
Not all straighteners are created equal, and selecting the right one can save you time and protect your hair.
- Plate Size: Wider plates (1.5–2 inches) are ideal for thick, coarse hair, while narrower plates (0.5–1 inch) work best on fine or tightly coiled hair.
- Heat‑Up Time: If you’re in a hurry, look for a model with a 30‑second quick‑heat feature.
- Auto‑Off Safety: A built‑in timer or auto‑off function prevents accidental burns.
- Warranty and Customer Support: A 2–3 year warranty often indicates a quality build.
Common Myths Debunked
Heat styling myths can lead to costly mistakes. Here are three of the most persistent misconceptions:
- Myth 1: “Higher heat always means a smoother finish.” In reality, high heat can cause breakage, especially if your hair is already damaged.
- Myth 2: “You should leave the straightener on the hair for a full minute.” Holding the iron too long concentrates heat, leading to split ends and frizz.
- Myth 3: “All straighteners are the same.” Plate material, temperature control, and ergonomic design all influence results and safety.
Troubleshooting Common Issues
Even with the best tools, you may encounter problems. Here’s how to fix them:
- Uneven Straightening: Check for uneven plate surfaces or dust buildup. Clean thoroughly.
- Residual Frizz: Increase the temperature slightly or try a tourmaline‑coated model that emits negative ions.
- Heat Spots: If the iron’s temperature fluctuates, the internal thermostat may be faulty. Consider professional servicing.
Styling After Straightening
Once your hair is sleek, you can add shine, volume, or texture. Here are quick post‑straightening hacks:
- Lightweight Serum: Apply a drop to the mid‑lengths to reduce static and add gloss.
- Texturizing Spray: For a beach‑y look, mist lightly and scrunch.
- Fine‑tooth Comb: Run through the ends to create a subtle wave without compromising the straight look.
Professional vs. Home Straighteners
Professional models often feature higher wattage, faster heat‑up, and more precise temperature controls. However, a high‑quality home straightener can deliver salon results if you follow proper technique and maintenance. Look for models with:
- Digital temperature display
- Heat‑resistant handles
- Automatic shut‑off
Eco‑Friendly Options
If sustainability matters to you, consider straighteners that use:
- Energy‑efficient plates (e.g., ceramic with low wattage)
- Recyclable housings
- Long‑lasting batteries (for cordless models)
How to Store and Travel with a Straightener
Proper storage and travel preparation can extend your straightener’s lifespan.
- Cool Down Completely: Never unplug a hot straightener. Let it cool before storage.
- Use a Protective Case: Many straighteners come with a pouch; if not, a small zip‑lock bag works.
- Avoid Extreme Temperatures: Keep it out of direct sunlight and away from freezing conditions.
- Travel Lock: Some models have a travel lock to disable the heating element. Use it when packing.
Safety Tips for Heat Styling
Safety should always be your top priority. Here are several precautions to keep in mind.
- Never leave the straightener unattended while hot.
- Keep the device out of reach of children.
- Use a heat‑resistant mat or tray to prevent scorching surfaces.
- Turn off the straightener when you’re done.
Further Learning Resources
For a deeper dive into the science behind flat irons, check out the Wikipedia article on flat irons. If you’re interested in exploring a range of heat styling tools, visit our heat styling tools page for more insights.
Frequently Asked Questions
How to use a hair straightener without damaging my hair?
Use a heat protectant, keep the temperature appropriate for your hair type, and avoid holding the straightener in one spot for too long. Regularly trim split ends and moisturize your hair to maintain its resilience.
What is the best temperature setting for fine hair?
Fine hair typically handles 250–300°F (120–150°C). Start low and increase only if you notice the hair isn’t straightening. A lower setting preserves shine and reduces the risk of breakage.
Can I straighten wet hair?
It’s not recommended. Wet hair is susceptible to heat damage. Always dry your hair completely before using a straightener. If you must, use a high‑speed dryer to remove as much moisture as possible.
How often should I replace the plates on my straightener?
Replace plates every 12–18 months or sooner if you notice uneven heating or visible scratches. A smooth, even surface ensures consistent results and protects your hair.
Is it safe to use a straightener on colored or chemically treated hair?
Yes, but use a lower temperature and a high‑quality heat protectant to minimize damage to the color or chemical treatment. Avoid excessive heat and consider a “reverse” straightening method to reduce tension.
Leave a Reply