how to use a curling iron for beginners can be mastered in just a few simple steps once you understand the basics of heat, technique, and safety. In this guide I’ll walk you through every part of the process, from choosing the right tool to finishing with a long‑lasting hold.
Choosing the Right Curling Iron
Before you even touch the iron, it’s essential to pick a curling iron that matches your hair type, desired style, and comfort level. The market offers a wide range of models, so here’s what to look for:
- Barrel Size: The barrel determines the curl’s diameter. Larger barrels (1.25–1.5 inches) create loose beach waves, while smaller barrels (0.75–1 inch) give tighter ringlets. If you’re unsure, start with a medium barrel (1 inch) for versatility.
- Material: Ceramic and tourmaline barrels distribute heat evenly and emit negative ions that reduce frizz. Titanium barrels heat quickly and are great for thick hair but can be harsher on fine strands.
- Heat Settings: Adjustable temperature is a must. Look for a model that offers at least 200–375°F (93–190°C) with a digital display for precise control.
- Safety Features: Auto‑off timers, cool‑touch handles, and heat‑resistant grips protect you from accidental burns.
- Ease of Use: A lightweight iron with a balanced handle reduces hand fatigue, especially if you’re styling for a long time.
Understanding Your Hair Type
Hair behaves differently under heat based on its texture, thickness, and moisture level. Knowing your hair’s characteristics will help you set the right temperature and avoid damage.



- Fine or Thin: These strands are fragile and prone to breakage. Use lower heat (250–300°F) and a gentle heat protectant.
- Medium: Most everyday hair falls into this category. A moderate setting (300–350°F) works well.
- Coarse or Thick: These strands need higher heat (350–375°F) to lock curls effectively.
- Curly or Coarse: If your hair is naturally curly, you may want to avoid a curling iron altogether or use it sparingly to enhance existing curls.
- Colored or Chemically Treated: Heat can strip color or damage chemical treatments. Use the lowest effective temperature and a silicone‑free protectant.
Heat Settings Explained
Temperature is the most critical factor in achieving healthy, lasting curls. Here’s a deeper dive into how heat interacts with hair:
- Low Heat (200–250°F): Ideal for very fine or heat‑sensitive hair. Curls will be looser and may take longer to set.
- Medium Heat (250–300°F): Works for most hair types. Provides a good balance between curl definition and safety.
- High Heat (300–375°F): Needed for thick or coarse hair. Use caution to avoid scorching.
Always start at the lower end of the range and increase only if necessary. Test on a small, inconspicuous section before styling the entire head.
Different Curling Iron Types: Clamp vs. Wand
Two primary designs dominate the curling iron market: clamp irons and curling wands. Each offers unique advantages.
- Clamp Iron: Features a clamp that secures hair, making it easier for beginners to control the curl. Ideal for tight, uniform curls.
- Curling Wand: Lacks a clamp, allowing hair to wrap naturally around the barrel. Produces softer, more natural waves and is great for longer hair.
Choosing between them depends on the look you want and your comfort with the tool. Many pros recommend starting with a clamp iron for its stability, then experimenting with a wand for a more relaxed style.
Step‑by‑Step Curling Process
Below is a detailed, beginner‑friendly routine that covers everything from prep to finishing.
- Wash and Condition: Use a sulfate‑free shampoo and a hydrating conditioner. This removes buildup and adds moisture, which helps curls hold better.
- Apply Heat Protectant: Spray a lightweight, silicone‑free protectant over damp hair. Let it air dry or use a blow‑dryer on low heat.
- Dry to 80%: Towel dry or use a blow‑dryer with a diffuser until your hair is about 80% dry. Fully dry hair can scorch the iron; fully damp hair may not hold the curl.
- Section Your Hair: Divide into 4–6 small sections. Smaller sections give you more control and tighter curls.
- Heat Setting: Set your iron to the appropriate temperature based on hair type.
- Insert a Strand: Place a 1–2 inch strand of hair 1–2 inches below the clamp (or the open end if you have a wand).
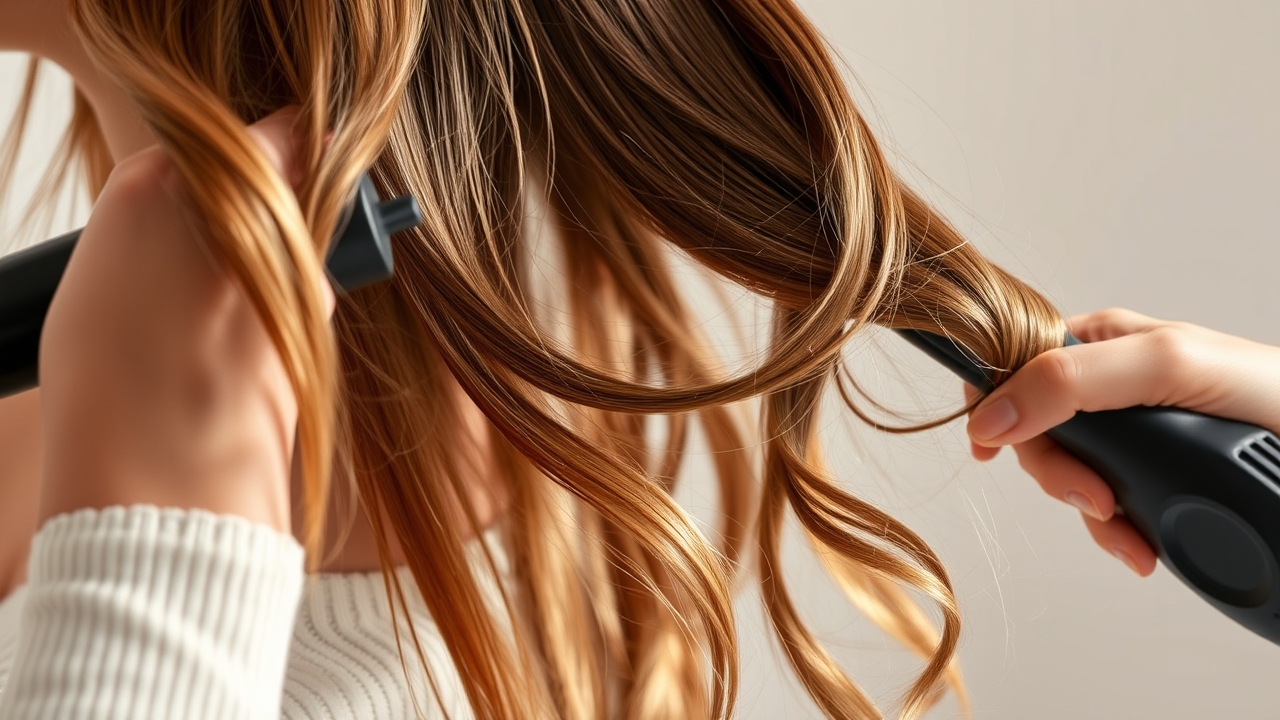
- Clamp or Wrap: For a clamp‑type iron, close the clamp and twist the iron 180° toward your scalp. For a wand, wrap the hair around the barrel and rotate.
- Hold: Keep the iron in place for 5–10 seconds, depending on your heat setting and hair thickness.
- Release: Gently slide the iron down the strand and let the curl fall into place. If you want a tighter curl, hold longer; for looser waves, release sooner.
- Repeat: Move to the next section and repeat until all hair is curled.
- Cool: Allow the curls to cool completely before touching. This locks the shape.
- Separate: Lightly comb through with a wide‑tooth comb to keep curls separated.
Tips for Keeping Curls Defined
- Use a small amount of lightweight mousse before styling to add volume without weighing hair.
- Finish with a light mist of hold spray; avoid heavy sprays that can make curls stiff.
- For longer wear, apply a small amount of leave‑in conditioner to reduce frizz.
Curling for Different Hair Lengths
The length of your hair influences how you should style it. Here are specific strategies for short, medium, and long hair.
- Short Hair (up to 6 inches): Use a smaller barrel (0.75–1 inch) to create tight, bouncy curls. Focus on the ends for a polished look.
- Medium Hair (6–12 inches): A medium barrel works well. Curl from mid-length to ends, then let the hair fall naturally for a relaxed wave.
- Long Hair (12+ inches): A larger barrel (1.25–1.5 inches) is ideal. Start at the ends and work your way up to avoid tangling. If you have a wand, you can wrap longer strands for a more effortless wave.
Common Mistakes & How to Fix Them
- Overheating: Using the highest setting can cut the hair. Test a small section first and keep the iron moving to avoid heat buildup.
- Skipping Protectant: Heat protectant is essential; without it you’ll see split ends. Apply a generous amount before each section.
- Using Wet Hair: Curling wet hair can cause uneven curls and damage. Ensure hair is 80% dry.
- Clamping Too Tight: This can leave a visible dent in the hair. Keep the clamp open enough to allow airflow but tight enough to hold the strand.
- Not Allowing Time to Cool: Rushing the cooling phase means the curl won’t set. Let the curls sit for at least 30 seconds before touching.
- Over‑Styling: Using the iron too many times can dry out hair. Limit heat styling to 2–3 times a week.
Post‑Curl Care & Styling Tips
Once you’ve curled your hair, it’s crucial to maintain the style and protect your strands.
- Silk Pillowcase: Sleep on a silk or satin pillowcase to reduce friction and frizz.
- Touch‑Up: If a curl loosens, re‑curl that section with a small amount of heat protectant.
- Hold Spray: A light mist of hold spray keeps the curls intact without making the hair stiff.
- Refresh: On the second day, lightly mist with water and scrunch to revive curls.
- Trim Regularly: Trim every 6–8 weeks to prevent split ends that can break curls.
Why a Curling Iron Works
When heat is applied to hair, the protein bonds inside the strands break and re‑form. The curling iron’s barrel acts as a mold, shaping the hair as it cools. This process is the same principle behind many heat styling tools, including the curling iron and the flat iron. Understanding this science helps you use the tool more effectively.
Resources for Further Learning
If you’re looking to deepen your styling skills, I recommend exploring advanced techniques such as the “flip” method or using a curling wand for a more natural look. You can also visit SaleHairStraighteners.net for tips on choosing the best heat styling tools for your hair type.
FAQ
- What is the safest temperature for most hair types? For most hair types, 300°F (150°C) is a safe starting point. Adjust higher for thicker hair or lower for fine strands. Always test a small section before full styling.
- Which heat protectant should I use? Choose a lightweight, silicone‑free spray that dries quickly and doesn’t weigh hair down. Look for ingredients like panthenol, glycerin, and natural oils for added moisture.
- Can I use a curling iron on dry hair? It’s best to use on damp or slightly damp hair for optimal results and to reduce damage. Fully dry hair can scorch the iron, while overly wet hair may not hold the curl.
- How long should I hold the iron on each section? Typically 5–10 seconds, depending on hair thickness and desired curl tightness. Fine hair may need only 5 seconds, while thicker strands may require up to 10 seconds.
- What if my curls fall flat or lose definition? Let the curls cool fully before touching. A light mist of hold spray can help maintain shape. If curls still loosen, re‑curl a small section with a bit of heat protectant.
- Is it okay to use a curling iron on colored or chemically treated hair? Yes, but use the lowest effective temperature and a silicone‑free protectant to minimize color loss and damage. Avoid high heat settings and limit use to once or twice a week.
- How can I keep my curls fresh for a full day? Finish with a light hold spray, sleep on a silk pillowcase, and avoid touching the curls during the day. If you need a quick refresh, lightly mist with water and scrunch.
Leave a Reply