Knowing how to straighten curly hair can feel like a mystery, especially when you’re dealing with stubborn coils, frizz, or hair that seems to “shrink” the moment you step outside. However, achieving a sleek, salon-quality finish at home isn’t about using the highest heat setting—it’s about the preparation and the technique. Below, I’ll walk you through every step—from the shower to the final serum—so you can achieve silky, straight strands without compromising the long-term health of your hair.
The Science of Straightening: Why Curly Hair Resists
To master the art of straightening, it helps to understand what is happening at a molecular level. Curly hair is characterized by an asymmetrical structure of the hair shaft and the presence of disulfide bonds that create those beautiful loops and spirals. When you apply heat, you are temporarily breaking these hydrogen bonds and rearranging the protein structure of the hair.
The challenge is that curly hair is naturally more porous and prone to dryness than straight hair. When heat is applied incorrectly, it can strip away the remaining moisture, leaving the cuticle open and jagged, which results in that dreaded “fried” look or immediate frizz. The goal of a professional straightening routine is to rearrange those bonds while keeping the cuticle sealed and the inner cortex hydrated.


Step 1: Gather the Right Tools & Products
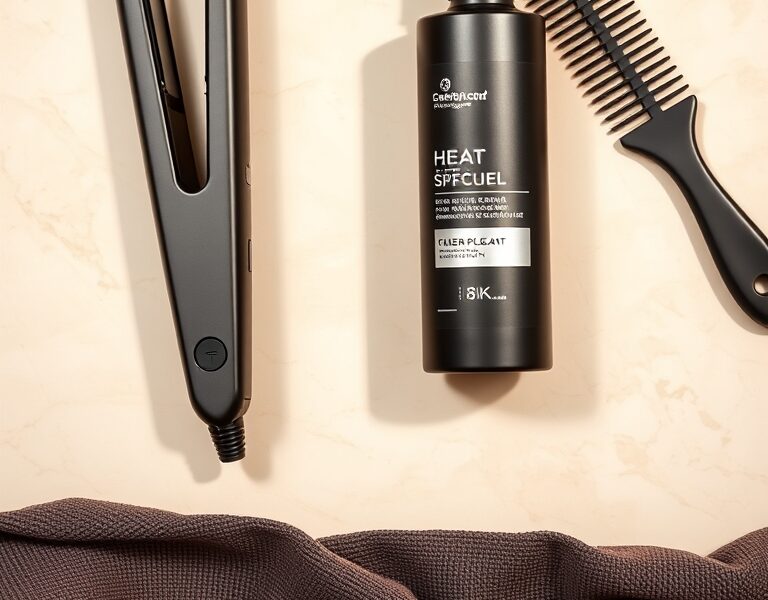
Using the wrong tools can lead to uneven results or unnecessary damage. Invest in high-quality equipment that caters specifically to the needs of curly textures.
- Flat Iron: Opt for a ceramic or tourmaline flat iron with adjustable temperature settings. Ceramic is excellent for even heat distribution, while tourmaline emits negative ions that seal the cuticle and neutralize static, making it ideal for high-frizz hair.
- Heat Protectant Spray or Serum: This is non-negotiable. Look for formulas containing silicones like dimethicone or natural oils that create a thermal barrier between the iron and your hair.
- Leave‑in Conditioner: Curly hair thrives on moisture. A leave-in conditioner ensures the hair is “plumped” with hydration before the heat is applied.
- Wide‑tooth Comb or Boar Bristle Brush: A wide-tooth comb is best for detangling wet hair, while a boar bristle brush is perfect for the “chase method” (brushing the hair immediately in front of the flat iron).
- Microfiber Towel or Cotton T‑shirt: Traditional terry cloth towels have rough fibers that can ruffle the hair cuticle, leading to frizz. Microfiber is much gentler.
- Sectioning Clips: Heavy-duty clips are essential for managing thick curls and ensuring no strand is missed.
Step 2: Prep Your Hair for Maximum Smoothness
The straightening process actually begins in the shower. If your hair isn’t properly prepped, the flat iron will struggle to create a smooth finish.
- Wash & Condition: Use a sulfate‑free smoothing shampoo to remove buildup without stripping natural oils. Follow up with a deep conditioner or a protein-rich mask. Curly hair needs extra elasticity and moisture to withstand heat.
- The Cool Rinse: Before exiting the shower, rinse your hair with cool water. This helps snap the cuticles shut, locking in the conditioner and adding an initial layer of shine.
- Gently Blot Dry: Do not rub your hair with a towel. Instead, gently squeeze the water out using a microfiber towel. Rubbing creates friction, which leads to frizz and breakage.
- Layer Your Products: Apply a dime-sized amount of leave‑in conditioner from the mid-lengths to the ends. While the hair is still damp, spray your heat protectant evenly throughout. Comb through with a wide‑tooth comb to ensure every single strand is coated.
- The Blow-Dry Phase: For the best results, do not flat iron soaking wet or even damp hair (unless you have a specific “wet-to-straight” tool). Use a blow dryer with a concentrator nozzle and a round brush to “rough straighten” the hair. This removes the bulk of the curl and reduces the time the flat iron needs to spend on each section.
Step 3: Section Your Hair Strategically
One of the biggest mistakes people make when learning how to straighten curly hair is trying to do too much at once. If you take sections that are too thick, the heat won’t reach the middle of the bunch, leaving you with “half-straight” hair.
Divide your hair into four primary quadrants: the top, the middle, the bottom, and the back. From there, work in small, 1-inch sub-sections. Use your clips to keep the rest of your hair completely out of the way. This methodical approach ensures consistent heat application and prevents you from having to go over the same piece of hair multiple times, which minimizes damage.
Step 4: Choose the Right Temperature
More heat does not always mean straighter hair; often, it just means more damage. You want the lowest temperature that effectively smooths your specific curl pattern.
- Fine or Thin Curls (Type 2A-2C): 300‑320°F (150‑160°C). Fine hair burns easily; keep it low.
- Medium Thickness/Wavy (Type 3A-3B): 320‑350°F (160‑175°C). This range provides enough heat to break the bonds without scorching.
- Very Thick, Coarse, or Kinky Curls (Type 3C-4C): 350‑375°F (175‑190°C). Coarser hair requires more energy to flatten, but avoid going above 400°F unless absolutely necessary.
Pro Tip: Always perform a “strand test.” Take a small section of hair from the nape of your neck and run the iron through it. If it doesn’t straighten in one slow pass, increase the heat by 10 degrees. If it sizzles or smells burnt, lower it immediately.
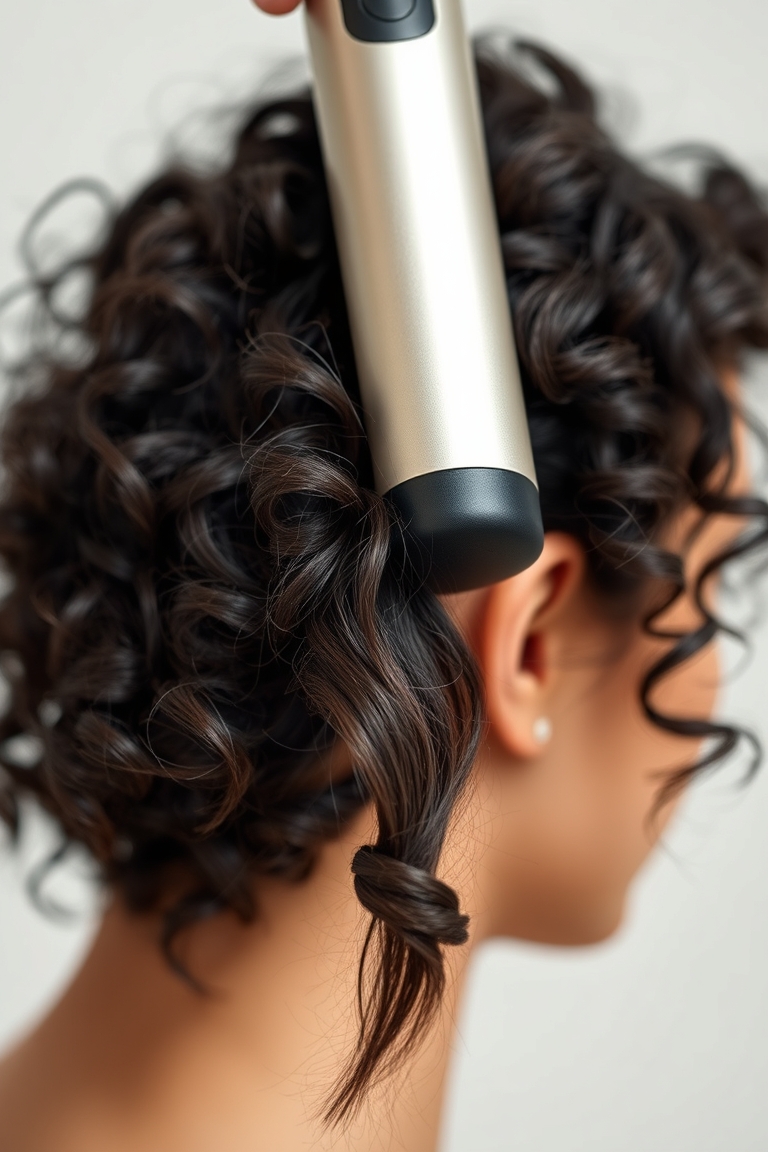
Step 5: Mastering the Flat Iron Technique
The way you move the iron is just as important as the temperature. To get that professional, liquid-smooth look, try these techniques:
The Chase Method: Place a fine-tooth comb or a boar bristle brush in the hair and follow it immediately with the flat iron. The comb aligns the hairs perfectly, and the iron seals them in that position. This is the secret to eliminating frizz.
The Slow Glide: Avoid “chopping” the hair into small pieces with the iron. Instead, start at the root and glide the iron in one slow, steady motion all the way to the end. If you move too fast, you’ll have to do multiple passes, which increases heat damage.
The Curve Technique: As you reach the ends of your hair, slightly curve the iron inward toward your face. This prevents the ends from looking “stiff” or unnaturally straight and gives the hair a more natural, soft movement.
The Cooling Period: Do not touch or brush the hair immediately after straightening. The hair is still “malleable” while hot. Let the section cool for a few seconds to lock the straight shape into place.
Step 6: The Finishing Touches
Once your entire head is complete, it’s time to polish the look. A cool blast of air from your blow dryer can help set the style and close any remaining open cuticles. For an extra dose of luminosity, apply a tiny drop of lightweight finishing oil or a shine serum to your palms and lightly glaze over the surface of your hair. This tames any flyaways and creates a reflective, glossy finish.
Common Mistakes & How to Avoid Them
- Ironing Damp Hair: This is the most dangerous mistake. When water is trapped in the hair shaft and hit with high heat, it boils instantly, creating “steam bubbles” that can literally explode the hair shaft (known as bubble hair). Ensure hair is 100% dry.
- Over-Processing: Going over the same section five or six times might make it straighter for an hour, but it will lead to split ends and permanent texture loss. Focus on one slow, quality pass.
- Neglecting the Roots: Many people start too far down the shaft, leaving a “poof” of curls at the root. Start as close to the scalp as possible—without touching the skin—to ensure a seamless transition.
- Using Cheap Irons: Irons without adjustable heat or those with uneven plates can create “hot spots” that burn the hair in some places while leaving others curly.
Aftercare: Maintaining the Smoothness
Straightened curly hair is more susceptible to humidity and frizz. To make your style last for several days, follow these aftercare tips:
- Switch to Silk: Swap your cotton pillowcase for a silk or satin one. Cotton absorbs moisture from your hair and creates friction, which leads to morning frizz. Silk allows the hair to glide, preserving the straightness.
- Anti-Humidity Spray: If you live in a damp climate, use a lightweight anti-humidity sealant spray. This creates a hydrophobic barrier that prevents moisture in the air from entering the hair shaft and triggering the curl.
- Avoid Water: Try to avoid washing your hair daily. If you need to refresh your roots, use a dry shampoo rather than wetting the hair.
- Deep Condition Weekly: Heat styling is taxing. Once a week, use a deep conditioning mask to replenish the lipids and proteins lost during the straightening process.
FAQs
- How can I straighten curly hair without using heat? While you can’t get “pin-straight” hair without heat, you can reduce curls using the “wrapping method.” Comb damp hair flat against your scalp and wrap it around your head, securing it with bobby pins. Let it air dry completely before unwrapping.
- Can I straighten thick curls with a regular flat iron? Yes, but ensure the plates are wide enough to grip the hair. For very thick hair, a flat iron with 1-inch to 1.5-inch plates is usually more effective than slim plates.
- What is the best heat protectant for curly hair? Look for a cream-based protectant if you have very dry/coarse hair, or a lightweight spray if you have fine curls. Ingredients like argan oil or keratin are excellent for adding strength and shine.
- How often can I straighten my curly hair without damaging it? For most people, 1–2 times a week is the limit. If you straighten daily, you risk permanent heat damage and “heat training,” where your curls lose their natural bounce even when not styled.
- Why does my hair curl back up immediately after straightening? This usually happens because the hair was still slightly damp when ironed, or because the humidity is too high. Ensure your hair is bone-dry and use a finishing serum to lock out moisture.
For more scientific insight into hair structure and heat styling, check out this Wikipedia article on hair.
By combining the right tools, a patient technique, and a commitment to moisture, you can master how to straighten curly hair while keeping your natural curls healthy and vibrant for when you decide to wear them again.
Leave a Reply