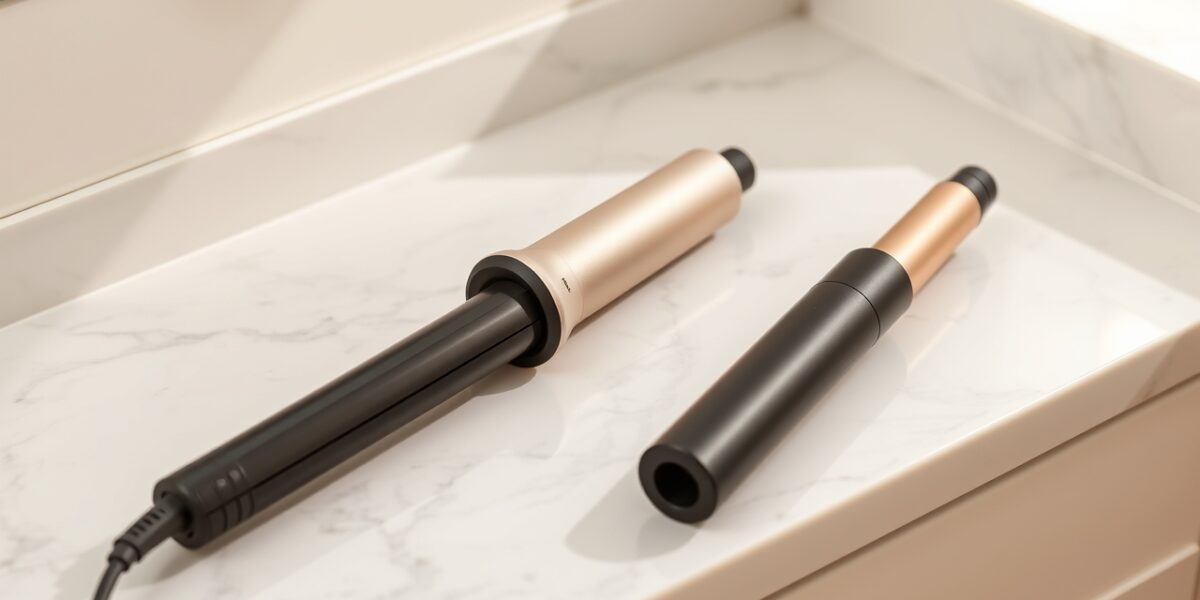
When you first hold a curling iron, the promise of effortless waves can feel almost too good to be true. The truth is, a curling iron is a simple appliance, but the art of styling it comes down to understanding heat, tension, and timing. In this guide, I’ll walk you through every detail you need to know to turn that first nervous attempt into a confident, salon‑grade look.
Choosing Your Tool: Iron vs. Wand
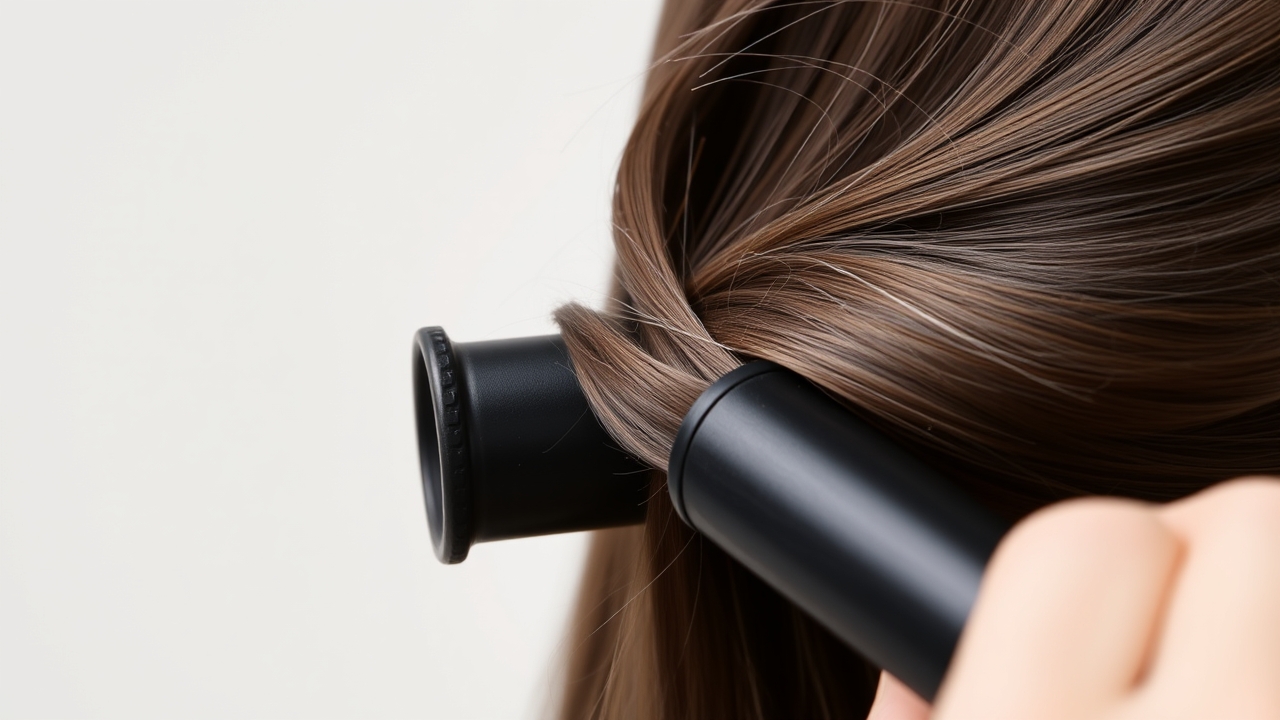
Most people mention “curling iron” and “curling wand” interchangeably, but the two tools serve distinct purposes. The iron’s spring‑loaded clamp is a lifesaver for beginners: it holds the hair in place so you can focus on the rotation. If you’re dealing with unruly strands or a busy schedule, the clamp keeps the curl from slipping while you work.
The wand, on the other hand, offers a freer, more natural motion. Because it has no clamp, you can create beach‑y waves or a loose, tousled look that feels effortless. The trade‑off is that you must hold the hair in place with your fingers, which takes a little more practice to avoid burning your hands.



When you’re starting out, pick the tool that matches the look you want and your comfort level. If you’re new to heat styling, the iron’s clamp gives you a safety net; if you’re willing to experiment, the wand can give you a more relaxed vibe.
Barrel Size Matters
Barrel diameter is the secret behind the curl’s shape. A ½‑inch barrel will give you tight, springy ringlets—great for formal events or a retro vibe. A 1‑inch barrel produces medium curls that look natural on most faces. Anything above 1.25 inches tends to create loose waves that mimic a beach finish.
Short hair needs a smaller barrel because you need enough length to wrap around the rod. The same rule applies to fine hair: a narrow barrel gives you more control and less chance of frizz. For thick or coarse hair, a larger barrel distributes heat more evenly and reduces the risk of hot spots.
Preparing Your Hair for Heat
Heat styling is a chemical process that can damage your hair if you skip the basics. Here’s a quick prep checklist to keep your strands healthy:
- Dry hair only. A single strand of damp hair can explode into a “bubble” when exposed to high heat, leaving permanent damage.
- Apply a heat protectant. Look for a lightweight spray or serum that contains silicones and amino acids. Brands like Living Proof No Frizz or Moroccanoil Mousse work well for most hair types.
- Detangle thoroughly. Use a wide‑tooth comb or a detangling brush. Tangled strands pull on the iron, creating uneven heat distribution and potential breakage.
- Section your hair. Divide it into at least three main sections—bottom, middle, and top. Clip the top and middle sections out of the way so you can focus on one area at a time.
For a deeper dive into selecting the right heat protectant, check out professional heat styling tools. The right product can make the difference between a frizz‑free curl and a limp, lifeless look.
Step‑by‑Step: How to Use a Curling Iron for Beginners
With your hair prepped and the iron heated, it’s time to style. Follow these steps to build confidence and consistency.
1. Section the Hair
Start with the bottom layer. Grab a 1‑inch section and clamp it at the root. The clamp should sit just above the scalp to keep the hair from slipping. If you’re using a wand, wrap the hair around the barrel, leaving a ½‑inch gap at the end for a natural finish.
2. Choose the Right Heat Setting
Hair type dictates temperature:
- Fine or bleached hair: 250–300°F (120–150°C)
- Medium texture: 300–350°F (150–175°C)
- Thick or coarse: 350–400°F (175–200°C)
Use the lowest setting that still gives you a clean curl. Over‑heating is a quick route to frizz and split ends.
3. The Wrap
For the iron, clamp the hair at the root and rotate the barrel away from your face. For the wand, grip the hair with your non‑dominant hand and wrap it around the barrel, keeping tension firm but not crushing. The key is to maintain a consistent distance from the heat source—about 1–2 inches from the barrel’s surface.
4. Hold the Heat
Hold the hair on the barrel for 5–10 seconds. If you’re unsure, test a single strand first. When the hair feels warm to the touch but not scorching, you’re ready to release. Remember: the longer you hold, the more heat damage you risk.
5. Release and Let It Set
Gently lift the clamp or slide the hair off the wand. Do not yank the iron through the strand; that will stretch the curl and flatten the shape. Let the curl fall naturally, then allow it to cool completely before touching.
Tips for Long‑Lasting Curls
Getting the curl is only half the battle. Here are pro tricks to keep your waves intact all day.
- Cool before touch. Touching a hot curl breaks the protein bond, causing the curl to flatten. Patience is key—wait until the curl is cool to the touch.
- Alternate direction. Curl one section away from your face, the next toward it. This creates a natural, layered look that resists clumping.
- Use a light hold spray. After all sections are cool, mist your hair with a flexible‑hold hairspray. Avoid “freeze” sprays that stiffen the hair; you want movement, not rigidity.
- Finish with a touch of serum. A light coat of silicone‑based serum on the ends can tame frizz and add shine without weighing the curls down.
Mastering the Curling Wand
The wand requires a slightly different technique because you’re holding the hair yourself. Here’s how to avoid burning your fingers and achieve a flawless wave.
- Heat‑resistant gloves. Slip a thin glove over your non‑dominant hand to keep your fingers safe.
- Grip the end. Use a metal clip or a rubber band to hold the strand against the barrel, preventing it from slipping.
- Twist and wrap. Before you wrap, twist the hair strand itself. This adds texture and creates tighter, beach‑style waves.
Common Beginner Mistakes and Fixes
Fishhook Ends
When the hair doesn’t wrap fully around the barrel, the end stays straight. Fix it by wrapping the last inch around the barrel or smoothing the tip with a tiny amount of pomade.
Curl Drops Quickly
Three culprits often cause curls to lose shape: too much product, insufficient heat, or touching the curl before it cools. Increase the heat by one setting, use a smaller barrel for better grip, or simply wait longer before handling.
Crimped Look
A harsh line along the clamp indicates you held it too long or squeezed too hard. Try a gliding motion: release the clamp as you rotate the barrel, keeping the hair moving.
Heat Safety and Hair Health
Heat styling can degrade protein bonds in your hair. To keep strands healthy, limit heat use to 2–3 times per week. If you notice increased dryness or breakage, consider a protein‑rich treatment like a deep conditioner or a protein mask.
Always start at the lowest temperature that works for your hair type. Fine or bleached strands should stay around 250–300°F. Medium textures can handle 300–350°F, and thick or coarse hair may need 350–400°F. If you smell burning, immediately lower the temperature.
Advanced Beginner Techniques
Beach Wave
Leave the last 2–3 inches of each strand straight. Wrap loosely around the barrel, then shake the hair out with your fingers. Finish with a sea‑salt spray for a sandy, effortless finish.
Voluminous Blowout Look
After curling, brush the curls out with a wide‑tooth comb or a boar‑bristle brush while they’re still warm. This transforms tight ringlets into soft, voluminous waves that mimic a salon blowout.
Glamour Wave
Curl all sections in the same direction (away from the face). Once cooled, brush them through. The result is a single, continuous S‑wave that frames the face beautifully.
Final Checklist for Beginners
- Hair is 100% dry.
- Heat protectant is applied evenly.
- Hair is detangled and sectioned.
- Iron temperature matches hair thickness.
- Curls are wrapped away from the face.
- Curls cool completely before touching.
- Finish with a light‑hold spray and a touch of serum.
Frequently Asked Questions
How to use a curling iron for beginners without burning yourself?
Keep the hot barrel away from your scalp and ears. Wrap hair in a direction that moves heat away from the skin. If you’re using a wand, use a heat‑resistant glove on your non‑dominant hand to hold the ends.
How long should I hold the hair on the iron?
Generally, 5–10 seconds works for most hair types. Fine hair may only need 5 seconds, while thick hair can handle 10–15 seconds. Test one strand first to find your sweet spot.
Why do my curls look like ringlets instead of waves?
Using a small barrel or failing to brush the curls after cooling will give you tight ringlets. For waves, use a larger barrel (1.25 inches or more) and gently run your fingers or a wide‑tooth comb through the curls after they’ve cooled.
Can I use a curling iron on dirty hair?
Styling “second‑day” hair can work because natural oils provide grip. Just avoid heavy product buildup, which can cause the iron to stick or produce uneven heat.
What is the best way to make curls last all day?
After releasing a curl, roll the hot curl back up to the scalp and secure it with a metal duckbill clip. Leave it in until the hair is cold; this compresses the curl and locks in the shape.
Which heat protectant is best for fine hair?
Look for lightweight sprays that contain silicones and amino acids. Living Proof No Frizz and Moroccanoil Mousse are excellent choices that won’t weigh down fine strands.
Can I style my curls in the shower?
It’s best to dry your hair completely before using a curling iron. Damp hair can lead to “bubble” damage, where water inside the shaft boils and causes permanent breakage.
How often should I use a curling iron to avoid damage?
Limit heat styling to 2–3 sessions per week. Give your hair time to recover between uses, and always follow up with a deep conditioner or protein mask.
What should I do if my curls feel frizzy after styling?
Apply a small amount of silicone‑based serum to the ends. This smooths the cuticle and tames frizz without weighing down the curls.
Is it okay to use a curling iron on color‑treated hair?
Yes, but be extra cautious with the temperature. Color‑treated hair is more fragile, so start at the lowest setting that still gives you a good curl.
Leave a Reply