Learning how to use a hair straightener can transform your daily beauty routine into a professional styling session. The promise of sleek, frizz‑free hair is enticing, but mastering the technique requires more than simply sliding a heated plate through your strands. If done incorrectly, high heat can strip the hair of its natural moisture, leading to split ends and breakage. However, with the right tools and a disciplined approach, you can achieve a glass-like finish while maintaining the integrity of your hair shaft. In this comprehensive guide, we’ll walk through every step—from critical preparation to professional aftercare—so you can achieve flawless results at home.
how to use a hair straightener: essential steps
Before you even touch the iron, a few foundational steps set the stage for success. Preparation is 80% of the battle; if the hair isn’t prepped correctly, the straightener will struggle to glide, and you’ll likely end up needing more passes, which increases the risk of heat damage.
Step 1: Cleanse and Dry Completely
Start with clean, dry hair. Residual product, oils, or moisture can trap heat and cause “sizzling,” which effectively boils the water inside the hair shaft and causes permanent bubble hair damage. Wash with a smoothing shampoo and a hydrating conditioner to close the cuticle. Towel-dry gently and then blow-dry your hair completely. If you are in a rush, ensure there is zero dampness before applying the iron.


Step 2: Apply a High-Quality Heat Protectant
A heat protectant is non-negotiable. These products typically contain silicones or polymers that create a thin, protective barrier, dispersing heat more evenly and preventing the plates from “searing” the hair. Use a lightweight serum for thick hair or a fine mist spray for thin hair. Apply it evenly from mid-shaft to ends, avoiding the scalp to prevent greasiness.
Step 3: Select the Correct Temperature
Most modern straighteners feature adjustable digital heat. Using a temperature that is too high can melt the keratin in your hair, while too low a temperature will result in waves that don’t last. Use these general guidelines:
- Fine, thin, or chemically treated hair: 250°F – 300°F (120°C – 150°C)
- Normal to medium texture: 300°F – 350°F (150°C – 180°C)
- Thick, coarse, or curly hair: 350°F – 410°F (180°C – 210°C)
Step 4: Strategic Sectioning
Divide your hair into 4–6 manageable parts. Start by parting your hair down the middle and then from ear to ear. Use professional sectioning clips to keep the rest of your hair out of the way. By working in small, 1-inch sections, you ensure that every single strand is touched by the heat, reducing the need to go over the same area multiple times.
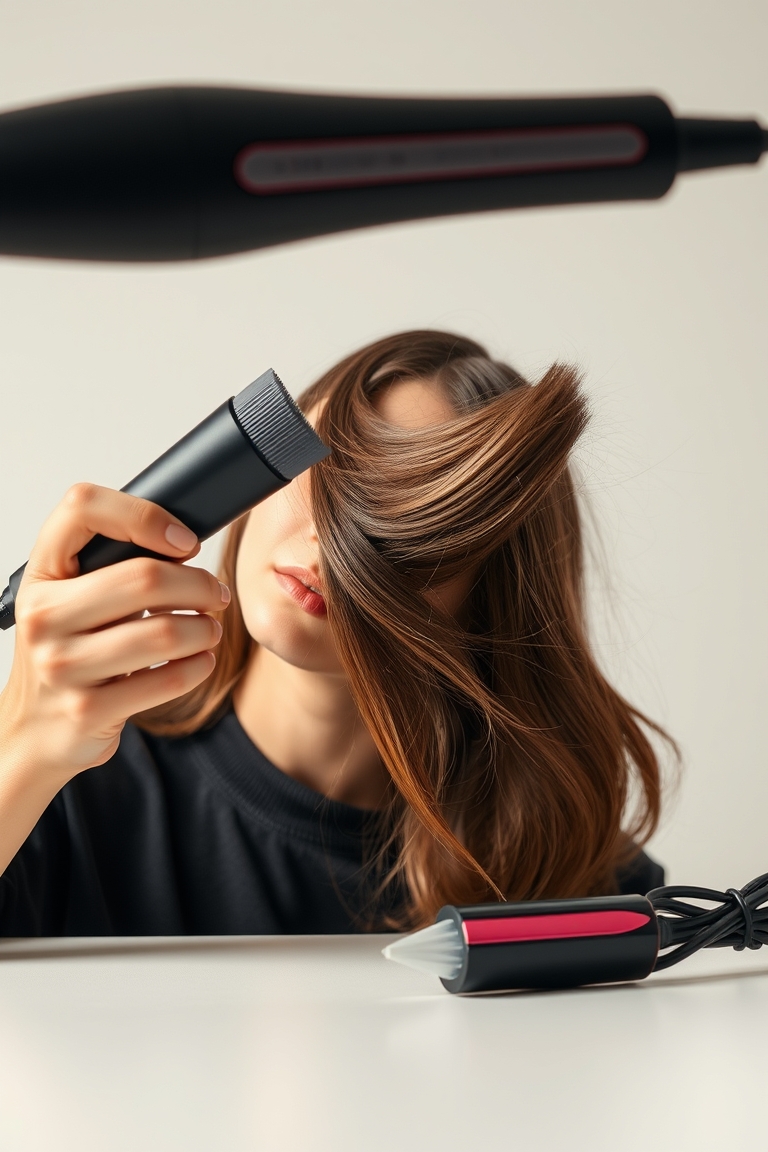
Step 5: The Glide Technique
Place the iron at the root, ensuring you don’t touch the scalp to avoid burns. Slide the iron from root to tip in one smooth, continuous motion. The key is a steady speed—too fast and the hair won’t straighten; too slow and you risk scorching. For added volume, lift the section of hair upward at a 90-degree angle from the head as you straighten.
Step 6: The Finishing Pass
Once the entire head is complete, a final glide with the iron set to a lower temperature (or a quick pass with a cool-shot blow dryer) seals the cuticle. This locks in the smoothness, adds a mirror-like shine, and prevents humidity from causing immediate frizz.
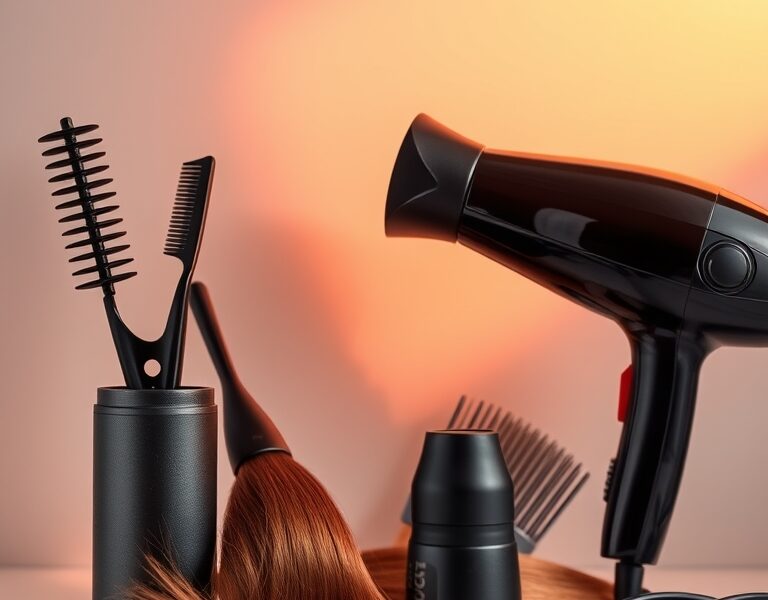
flat iron tips for optimal results
Even with the basic steps down, subtle adjustments can separate a “home job” from a salon-quality finish. Here are expert refinements for your technique.
Choosing the Right Plate Material
Not all plates are created equal. Ceramic plates provide even heat distribution and are generally better for fine or damaged hair. Titanium plates heat up faster and maintain higher temperatures more consistently, making them the gold standard for thick, coarse, or curly hair that resists straightening.
The “Comb Chase” Method
For the ultimate sleek look, use a fine-tooth rat-tail comb in front of the straightener. Place the comb in the hair and follow it immediately with the flat iron. The comb detangles and aligns the hairs perfectly, allowing the iron to seal them in a flat, uniform position. This eliminates the need for multiple passes.
Plate Width Considerations
- Thin plates (1–1.5 inches): Perfect for short hair, bangs, or creating curls and waves with the iron.
- Wide plates (2–2.5 inches): Ideal for those with very long or thick hair, as they cover more surface area and cut styling time in half.
For a deeper dive into the mechanics of the flat iron, you can read the full history on Wikipedia.
how to flat iron without damaging your hair
straighten hair properly: heat safety guidelines
Heat is a double‑edged sword. While it gives you the sleek look you desire, it can also degrade the protein structure of your hair. To avoid permanent damage, adhere to these safety protocols:
- The Two-Pass Rule: Aim to straighten each section no more than twice. If the hair isn’t straight after two passes, your temperature is likely too low. It is safer to slightly increase the heat and do one pass than to use low heat and do five passes.
- Avoid “Clamping” Pressure: Do not squeeze the plates together with excessive force. The plates should glide. If you have to press hard to get the hair straight, you are likely causing mechanical damage to the cuticle.
- Monitor Your Hair’s Elasticity: Periodically check your ends. If they feel “crunchy” or look frayed, take a break from heat styling for at least two weeks and incorporate a deep-conditioning mask.
- Air-Cooling: Never brush your hair immediately after straightening. Let the hair cool for a few minutes; this allows the hydrogen bonds to reset in their new, straight position.
straightening guide for different hair types
Fine and Thin Hair
Fine hair has a smaller diameter and is more susceptible to heat damage. Use the lowest effective temperature. Avoid heavy oils or waxes that can make the hair look greasy or limp. Instead, use a volumizing mousse on damp hair before blow-drying to give the hair more “body” before you straighten.
Curly and Coiled Hair
Curly hair often requires more moisture and higher heat. Start with a leave-in conditioner to provide a buffer. Use a wide-plate straightener to tackle the bulk of the curls, then switch to a narrower plate for the crown and edges. Focus on the root area to ensure the curl is fully relaxed before moving down the shaft.
Thick and Coarse Hair
Thicker strands have a denser cuticle layer. Section your hair more finely—using six to eight clips instead of four—to ensure the heat penetrates the center of the section. Use a protein-enriched heat protectant to fortify the hair shaft against the higher temperatures required.
Common Mistakes and How to Avoid Them
- Straightening Damp Hair: This is the most common mistake. It causes “steam burns” on the hair shaft, leading to permanent holes in the cuticle.
- Ignoring the Root: Many people start too far down the shaft, leaving a “bump” of curl at the root. Start as close to the scalp as safely possible.
- Neglecting Plate Maintenance: Product buildup (like old hairspray) creates “hot spots” or sticky patches that can snag and pull your hair. Wipe plates with a damp, lint-free cloth when the iron is cool.
aftercare and maintenance
Post-Styling Protection
Once your hair is straight, it is more vulnerable to environmental humidity. Apply a tiny drop of lightweight finishing oil or a shine spray to the ends. This creates a hydrophobic barrier that keeps moisture out and prevents the hair from reverting to its natural curl.
The Recovery Phase
Heat styling is a stressor. To maintain healthy hair, implement a “heat detox” once a week. Use this time to apply a deep-conditioning treatment or a bond-repairing mask (like those containing bis-aminopropyl diglycol dimaleate) to repair any broken disulfide bonds caused by the iron.
Tool Storage and Safety
Always store your iron on a heat-resistant mat. Never wrap the cord tightly around the iron while it is still warm, as this can damage the internal wiring. Unplug the device immediately after use; modern auto-shutoff features are great, but they shouldn’t be your primary safety measure.
Explore our range of professional straightening tools for a deeper dive into the best equipment for your needs.
FAQ
- How to use a hair straightener without causing damage? The key is a combination of a high-quality heat protectant, using the lowest effective temperature for your hair type, limiting yourself to two passes per section, and ensuring hair is 100% dry before starting.
- What is the best temperature for thick hair? Typically, thick or coarse hair requires 380–410°F (190–210°C). However, always test a small, inconspicuous section behind your ear first to ensure the heat isn’t too aggressive.
- Can I use a straightener on wet or damp hair? Absolutely not. Straightening wet hair causes the water inside the hair shaft to boil and evaporate instantly, which can lead to “bubble hair”—permanent structural damage that often requires a haircut to fix.
- How often should I clean the plates of my flat iron? You should wipe the plates every 5–10 uses. Use a damp cloth or a specialized cleaning wipe to remove burnt-on product residue, which ensures a smooth glide and even heat distribution.
- Is it safe to use a straightener every day? While possible, daily use can lead to cumulative heat damage and dryness. It is highly recommended to alternate heat days with “natural” days and use a deep conditioner weekly to replenish lost moisture.
Leave a Reply