When I first tried to curl my hair, the result was a burnt finger and a handful of stubborn kinks that looked more like a tangled yarn than a flowing wave. That early mishap taught me that success with a curling iron isn’t about innate talent—it’s about understanding heat, tension, and the subtle geometry of each hair strand. In this guide, we’ll walk through every detail of how to use a curling iron for beginners so you can leave the salon and create salon‑level curls at home.
Choosing Your Tool: Iron vs. Wand
Before you even plug in the cord, decide which type of device will best serve your style goals. While many people use the terms interchangeably, a traditional curling iron and a curling wand offer distinct advantages.
The Traditional Curling Iron
With a barrel and a built‑in clamp, a curling iron locks the hair in place. This feature is a lifesaver for those who struggle with coordination, as it eliminates the need to hold the hair while the heat does its work. The clamp also allows you to set the curl’s depth precisely, which is ideal for structured curls or adding lift at the roots.



The Curling Wand
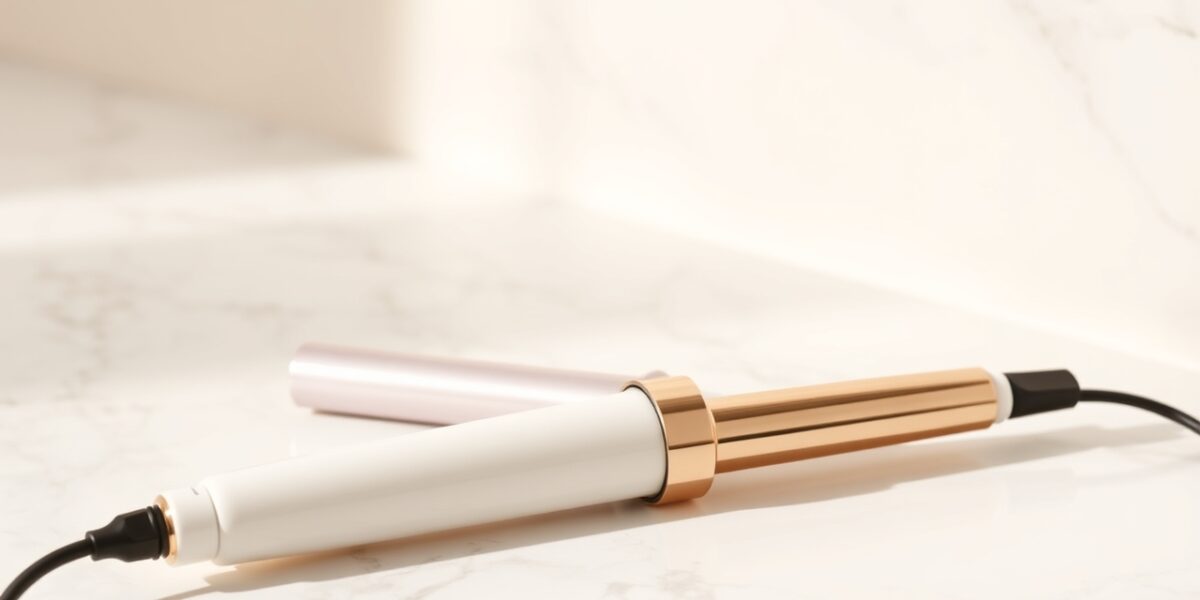
A curling wand is simply a heated rod—no clamp, no extra weight. You manually wrap the hair around the barrel, which gives you more control over the curl’s shape and intensity. The wand is especially effective for creating loose, beach‑y waves that feel natural. If you’re looking for a versatile, low‑maintenance tool, the wand is worth considering.
For a deeper dive into heat styling tools, check out our Curly Hair Care Guide. And if you’re curious about the science behind heat settings, our guide to heat styling tools offers a solid foundation.
Understanding Barrel Sizes
The barrel’s diameter directly translates to curl size. Picking the wrong size can lead to curls that are either too tight or too loose for your desired look.
- ½ to ¾ inch: Tight ringlets that work well on very short hair or when you need a dramatic volume boost.
- 1 inch: The classic “gold standard” that gives you a clean, medium curl that can be relaxed into waves.
- 1¼ to 1½ inch: Ideal for long, thick hair that needs a gentle, voluminous wave.
- 2 inches or more: Large rollers that create a soft, “blowout” style—perfect for a polished, everyday look.
Essential Pre‑Styling Preparation
Heat styling is only safe—and effective—if you give your hair the right foundation. Skipping these steps can lead to frizz, split ends, or even hair loss.
Start with Dry Hair
Never use a curling iron on damp hair unless the product specifically states it’s a “wet‑to‑dry” styler. Moisture inside the shaft can turn into steam, causing “bubble hair” that looks frizzy and feels brittle.
The Role of Heat Protectants
A heat protectant forms a thin shield between your hair and the barrel. Choose a lightweight spray or serum that won’t weigh down fine strands. Apply from mid‑shaft to ends, ensuring every section receives coverage. For a deeper understanding of how heat alters the hair protein, consult the Wikipedia article on hair care.
Detangling
Even the most careful sectioning can be ruined by knots. Use a wide‑tooth comb or a detangling brush to smooth out tangles before you begin. A slick surface allows the iron to glide evenly, preventing hot spots.
Step‑by‑Step: How to Use a Curling Iron for Beginners
With your hair prepped, you’re ready to start curling. Follow these steps to achieve consistent, salon‑quality results.
Step 1: Sectioning the Hair
The most common rookie mistake is curling too much hair at once. Divide your hair into three horizontal tiers: the bottom (nape), the middle (ear level), and the top (crown). Then, within each tier, cut sections no wider than 1 inch. This size ensures heat penetrates the core of each strand.
Step 2: Setting the Temperature
Heat settings depend on your hair’s texture and condition:
- Fine or damaged hair: 250°F to 300°F (120°C to 150°C).
- Medium or normal hair: 300°F to 350°F (150°C to 175°C).
- Thick, coarse, or curly hair: 350°F to 400°F (175°C to 200°C).
When in doubt, start low. You can always increase the temperature in subsequent passes, but you can’t reverse a burn.
Step 3: Wrapping Technique
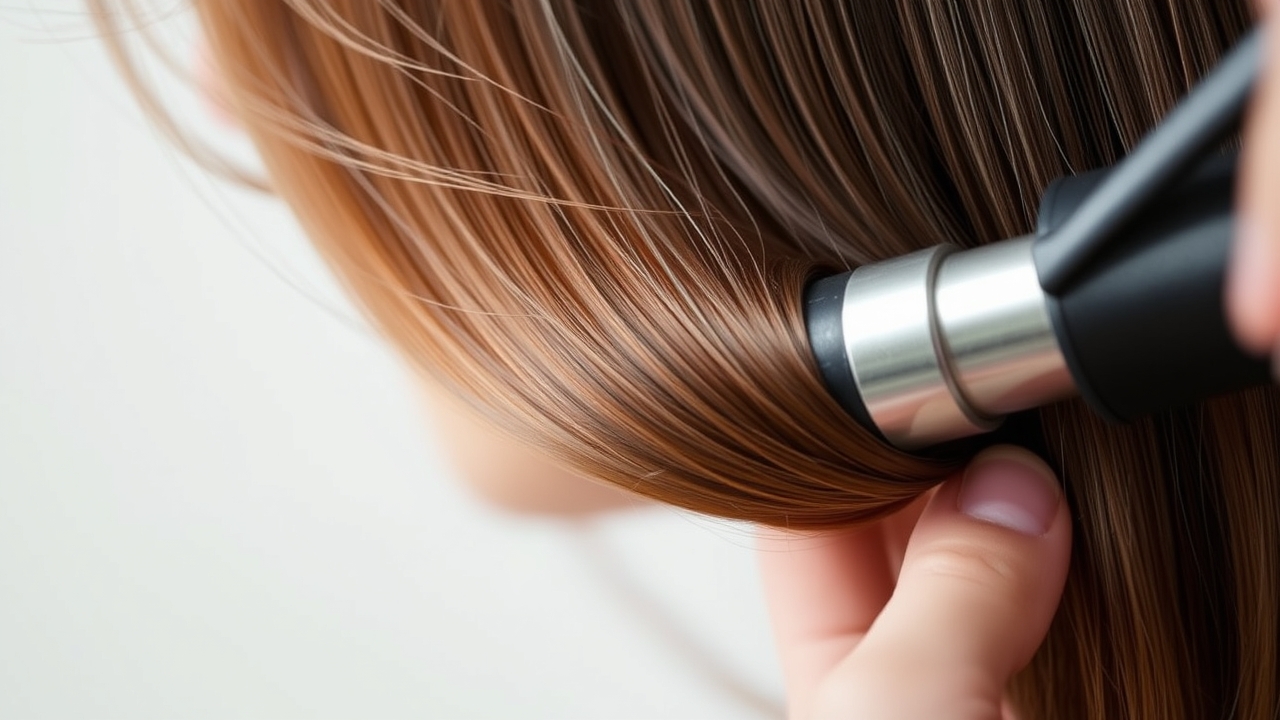
Take a 1‑inch section and clamp it at the root if you’re using an iron. For a wand, hold the hair with your non‑dominant hand and wrap it clockwise or counter‑clockwise, depending on the desired direction of the curl. Leave about an inch of the ends free for a softer finish.
Step 4: Hold and Release
Keep the iron in place for 5 to 8 seconds—long enough for the heat to set but short enough to avoid scorching. Release the clamp or slide the hair off the wand. Let the curl rest in your palm for a second to cool slightly before dropping it. This pause locks the curl’s shape.
Curling Iron Tips for Different Looks
Once you master the basic motion, you can tweak the direction and tension to create a range of styles.
Natural, Effortless Waves
Wrap the hair away from your face: clockwise on the right side, counter‑clockwise on the left. This technique lifts the roots and keeps the curls from flattening against the cheeks.
Maximum Volume
For a fuller look, curl toward the face or alternate directions. Alternating prevents the curls from clustering into one big wave, giving you a more layered, voluminous finish.
The “Beach Wave” Method
Leave the last two inches of hair straight and wrap loosely. After the curls cool, use your fingers or a wide‑tooth comb to loosen the shape. The result is a relaxed, sun‑kissed wave that feels effortless.
Common Beginner Mistakes and How to Fix Them
Even with a solid plan, small errors can derail your results. Here’s how to troubleshoot the most frequent issues.
The Curl Drops Immediately
Likely causes: damp hair or overly thick sections. Remedy: double‑check that your hair is fully dry and reduce the section width. Also, avoid using a heavy heat protectant that can weigh down the strand.
The Curls Look Like “Pipe Cleaners”
Stiff, tight curls often result from holding the iron too long or using a barrel that’s too small. To soften, gently brush the curls with a boar‑bristle brush or apply a light mist of leave‑in conditioner.
Burned Ends
Burns usually happen when the iron lingers at the tips. Release the ends first or lower the temperature. A quick touch‑test—feel the heat on the barrel before each curl—can prevent accidental burns.
Post‑Curl Finishing Touches
The moment you unplug the iron isn’t the end; it’s the start of the finishing phase that defines the final look.
Cooling Is Key
Never brush hot curls. Hair is pliable when hot and sets as it cools. Allow 5 to 10 minutes before you touch the style. This pause preserves the curl’s integrity.
Adding Texture and Hold
A flexible‑hold hairspray works for most hair types. For a matte, lived‑in look, sprinkle a tiny amount of sea‑salt spray or texturizing powder on the roots and mid‑lengths. This adds body without clumping.
The Final Brush‑Out
For a polished, sleek look, use a paddle brush to smooth the curls. If you prefer a relaxed vibe, run your fingers through the roots to break up the shape. The choice between a “perfect” ringlet and a natural wave is yours.
Maintenance and Tool Care
Keeping your curling iron clean keeps your hair healthy and your tool efficient. Residue from heat protectants and oils can build up, causing uneven heating and snagging.
Once a month, when the iron is cold and unplugged, wipe the barrel with a damp, lint‑free cloth. For stubborn buildup, dab a cotton pad with a touch of rubbing alcohol and wipe the barrel. Avoid using harsh chemicals that could damage the ceramic coating.
Also, be mindful of the cord. Keep it untangled and avoid wrapping it tightly around the handle; this can cause internal fraying and pose a safety hazard.
Summary Checklist for Beginners
Use this quick checklist before you start curling:
- Is your hair 100% dry? ✔️
- Did you apply a heat protectant evenly? ✔️
- Is the temperature set for your hair type? ✔️
- Are sections no wider than 1 inch? ✔️
- Did you curl away from the face for natural waves? ✔️
- Did you let the curls cool before brushing? ✔️
Frequently Asked Questions
How to use a curling iron for beginners without burning yourself?
Keep the hot barrel clear of your scalp and ears. A curling iron with a heat‑resistant tip or a “cool tip” is ideal. Always tuck your fingers away from the barrel. If you’re using a wand, a heat‑resistant glove on your non‑dominant hand can add extra safety.
How long should I hold the hair on the iron?
Typically 5 to 8 seconds works for most hair types. For very thick or coarse hair, you might need up to 10 seconds. Fine hair often sets in 3 to 5 seconds. The goal is a warm, not scorching, feel when you release.
Can I curl my hair every day?
Daily heat styling can lead to dryness, split ends, and breakage. Aim for a few heat‑free days each week. When you do style, always use a heat protectant and the lowest effective temperature.
Why are my curls uneven?
Uneven curls usually stem from inconsistent section sizes or variable tension. Keep your sections uniform and wrap with the same tightness each time.
Which is better for beginners: a curling iron or a wand?
For absolute beginners, a curling iron with a clamp is often easier because it secures the hair for you. A wand is better for those who want a relaxed, beachy wave and are comfortable manipulating the hair manually.
Leave a Reply