When you step out of the shower with a freshly straightened mane, the first thing you notice is how your hair reflects light. That gleam is not a coincidence—it’s the result of a carefully orchestrated routine that starts long before the flat iron touches your strands. In this guide, I’ll walk you through every step of how to add shine to straightened hair, from the first rinse to the final touch of oil.
The Science of Shine: Why Hair Looks Dull
Shine is essentially the reflection of light off the hair’s cuticle. When the cuticle is flat, smooth, and sealed, light bounces evenly, creating that mirror‑like effect. A raised or damaged cuticle scatters light in many directions, turning your hair matte and lifeless.
Heat styling can be a double‑edged sword. A flat iron can press the cuticle down, but if you crank the temperature too high or use the wrong technique, you risk burning the cuticle and causing permanent dullness and breakage. Your goal is to use heat to seal the hair without compromising its structural integrity.


Step 1: The Foundation (Pre‑Straightening Care)
Shine starts with hydration. Dehydrated strands absorb every product you apply, leaving them heavy and flat. Treat your hair to a deep conditioning mask once a week—look for ingredients like glycerin, panthenol, or hydrolyzed keratin. These molecules fill gaps inside the shaft, causing the hair to plump and smooth from the inside out.
Deep Hydration and Masks
Apply the mask to damp hair, focusing on mid‑lengths and ends. Leave it on for 10–15 minutes, then rinse with lukewarm water. The result is a shaft that feels supple and a cuticle that’s primed for a smooth finish.
The Importance of a Cold Rinse
After conditioning, finish with a cold water rinse. Cold water helps the cuticle to close and lock in the moisture you just added. Think of it as sealing a freshly painted wall before the sun hits it. The cooler the water, the tighter the cuticle will snap shut, giving you a smoother base for heat styling. This simple step is a staple in professional salons and is often overlooked by DIY stylists.
Step 2: Preparing for Heat
The products you apply to damp hair dictate how the hair reacts to the flat iron. A high‑quality heat protectant is your first line of defense.
Choosing the Right Heat Protectant
Look for a lightweight formula that contains silicones or polymers. These ingredients coat the hair, fill in porous areas, and create a uniform surface that reflects light more effectively. I recommend a silicone‑based spray like Living Proof Perfect Hair Day or a cream protectant such as Moroccanoil Perfect Defense—both seal the cuticle without weighing the strands down.
The Role of Hair Serum Straightening
During the damp phase, apply a lightweight serum to the mid‑lengths and ends. This not only locks in moisture but also lubricates the hair, making it easier for the flat iron to glide. When you blow‑dry, the serum distributes evenly, ensuring that the heat will have a smooth, shiny surface to work with.
Step 3: Mastering the Flat Iron Technique
Most people lose shine by over‑stressing their hair with repeated passes. The trick is to glide, not to drag.
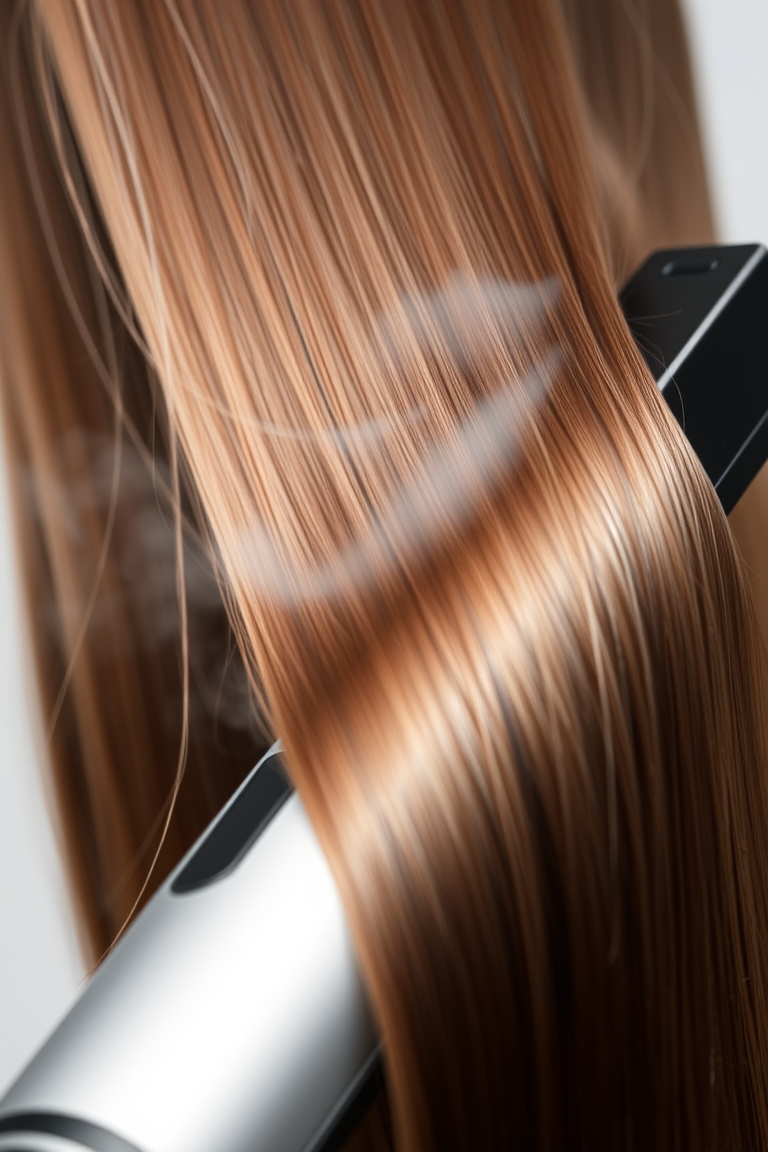
The “Chase Method”
Place a fine‑tooth comb in front of the flat iron. Align every strand so they’re perfectly parallel. Let the iron follow immediately behind the comb. This technique seals the cuticle in a uniform direction, maximizing light reflection and giving you that professional, liquid‑hair look.
Temperature Control
Higher heat doesn’t always mean shinier hair. For fine or damaged strands, set the iron to 300–350 °F (150–175 °C). For thicker, coarser hair, you can push up to 400 °F (200 °C), but only if your hair can handle the heat. The key is to maintain a steady, moderate temperature and avoid lingering on one section for more than a second.
Small Sections are Key
Take one‑inch sections, not half a foot. A thin slice allows the heat to penetrate evenly. If you try to flatten a thick section, the outer hairs will scorch while the inner ones stay wavy, creating a patchy, dull look. Think of it as slicing a loaf of bread—thin slices bake evenly, thick ones don’t.
Step 4: The Finishing Touches for Maximum Glow
Once the straightening is complete, the work isn’t over. The final layer of brilliance can make or break your look.
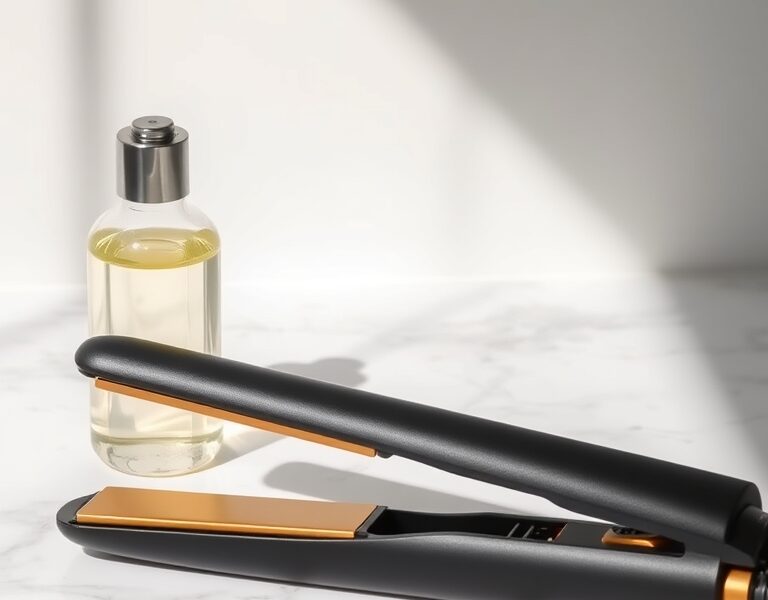
The Finishing Oil Application
Avoid rubbing oil into your hair with your palms; the friction can create frizz. Warm a tiny amount of oil—argan, jojoba, or grapeseed—between your fingertips, then lightly “scrunch” or smooth it over the ends. For stubborn flyaways, use a clean mascara wand or a toothbrush to lay them flat.
Avoid Over‑Touching
Once you’ve achieved that glossy straight hair, let it sit. Your fingers can introduce oils that break down styling products and cause frizz. Resist the urge to touch or comb until you’re ready to style again.
Common Mistakes That Kill Shine
- Using Old Tools: Scratched or pitted plates create dents in the cuticle, leading to a matte finish. Inspect your flat iron before each session; replace plates every 12–18 months.
- Over‑Using Heavy Silicones: While silicones seal the cuticle, too much build‑up can make hair look greasy. Clarify with a sulfate‑free shampoo once a month to keep the surface clean.
- Skipping the Blow‑Dry: Going from soaking wet to a flat iron is a recipe for heat damage and steam burns. Blow‑dry until the hair is 80% dry before styling.
Customizing Your Routine by Hair Type
Different textures reflect light in different ways. Adjust your routine to match your hair’s unique needs.
Fine Hair
Fine strands are prone to heaviness. Use lightweight dry oils or shine sprays, and apply them only to the bottom two inches. Avoid heavy creams that can weigh the roots and flatten volume.
Thick or Coarse Hair
Coarse hair has a naturally more open cuticle. A cream‑based heat protectant works best here, providing the lubrication needed for the iron to glide without snagging. A higher temperature (up to 400 °F) is acceptable if the hair is healthy.
Curly or Coiled Hair
Curly hair is naturally drier and more susceptible to heat damage. Prioritize pre‑straightening hydration: a leave‑in conditioner followed by a serum before heat. This keeps the strands supple and ready to reflect light, even after the drastic change in shape.
Long‑Term Maintenance for Shiny Hair
Tools alone won’t sustain shine if the underlying health of your hair is compromised. Adopt these habits to keep your mane looking glossy between styling sessions.
- Silk Pillowcases: Cotton pulls at the cuticle, creating friction that dulls shine. Silk or satin allows the hair to glide, preserving the smooth finish.
- Balanced pH Shampoos: A slightly acidic pH (4.5–5.5) keeps the cuticle closed. Look for sulfate‑free formulas that won’t strip natural oils.
- Regular Trims: Split ends scatter light and look frayed. Trim every 6–8 weeks to keep the ends crisp.
Comparing Shine Products: Oil vs. Serum vs. Spray
Choosing the right finishing product can be confusing. Here’s a quick breakdown.
Hair Oils: Penetrate deeper, nourishing the shaft for long‑term health. Use as a pre‑wash treatment or a final touch for a natural glow.
Serums: Silicone‑based, sit on the surface, and create a physical barrier that reflects light. Ideal for an immediate, high‑gloss finish.
Shine Sprays: Lightweight, perfect for a quick refresh or for fine hair that can’t handle heavier products.
FAQ: Everything You Need to Know About Hair Shine
How to add shine to straightened hair quickly?
The fastest way is to apply a lightweight finishing oil or a glossing spray after you’ve finished straightening. For lasting results, pair a heat protectant with the “chase method” during styling to seal the cuticle perfectly.
Does using a flat iron every day make hair dull?
Yes, daily heat styling strips natural oils and damages the cuticle. Protect your hair by using a heat protectant, keeping temperatures as low as possible, and deep‑conditioning weekly to replenish lost moisture.
Can I use hair oil before straightening my hair?
It depends on the oil. Light oils with a high smoke point—like argan or grapeseed—can be used before heat, but heavy oils with low smoke points should be reserved for the final touch after the iron is turned off.
Why does my hair look shiny at first but dull after a few hours?
Humidity is the culprit. Moisture lifts the cuticle, causing frizz and a loss of shine. Use an anti‑humidity sealant or a serum that locks out moisture before you leave the house.
Which flat iron plate material is best for shine?
Ceramic and tourmaline plates are top choices. Ceramic distributes heat evenly, while tourmaline emits negative ions that seal the cuticle and eliminate frizz, resulting in a glossy finish that outlasts traditional metal plates.
For further reading, see related references on Wikipedia.
Leave a Reply