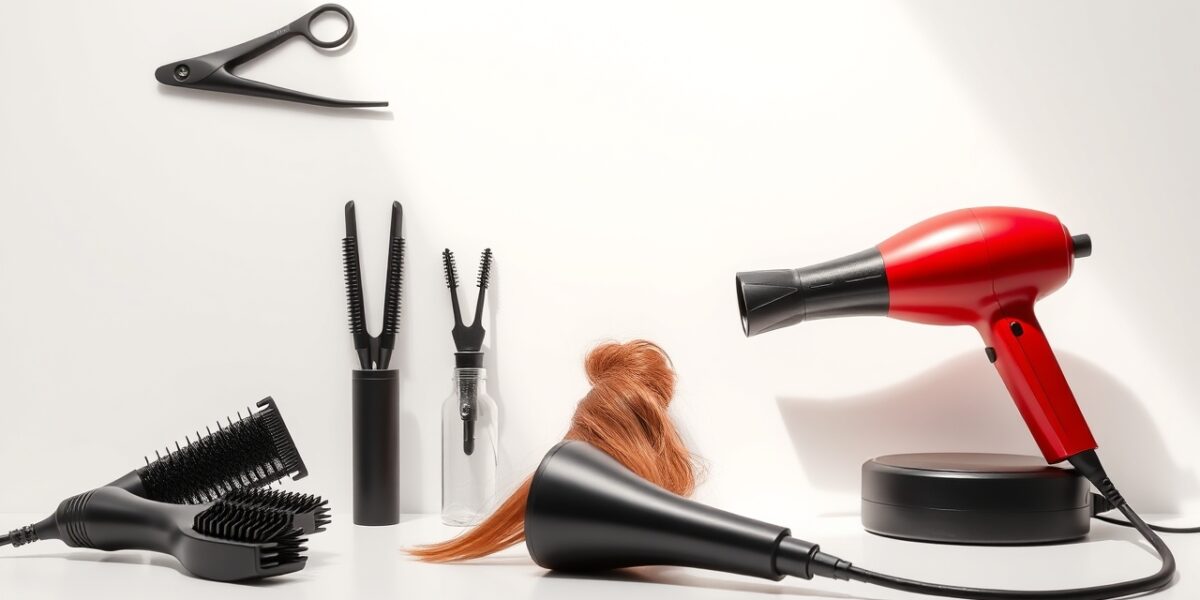
Short hair can be a game‑changer for busy mornings, but achieving a sleek, straight look often feels like a challenge. The key to mastering how to straighten short hair lies in the right tools, proper prep, and a systematic approach. This guide walks you through every step, from selecting a flat iron to finishing with a frizz‑free seal, ensuring you get salon‑quality results at home.
Choosing the Right Flat Iron for Short Hair
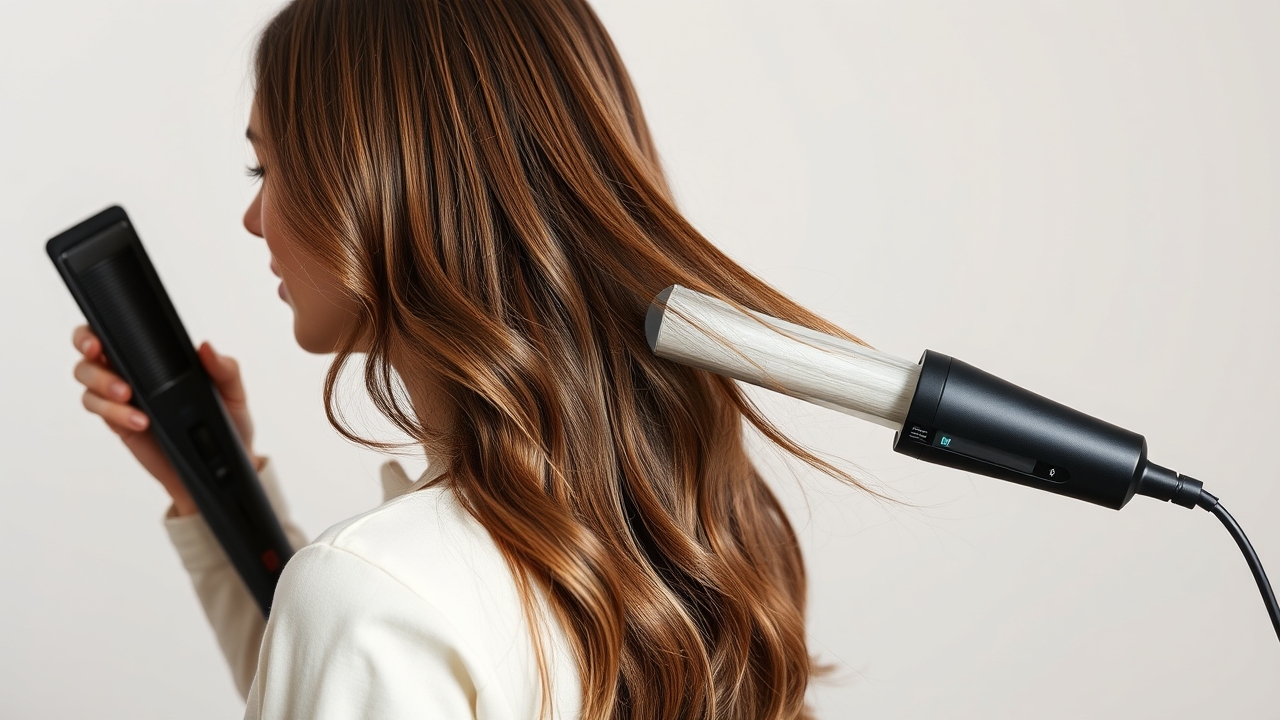
When it comes to short styles—pixie cuts, bobs, and cropped layers—the size and technology of your flat iron matter more than you might think. A 1‑inch (25 mm) barrel is typically ideal because it allows the iron to glide smoothly over small sections without stretching the hair too far. Larger barrels can still work but may leave uneven heat distribution.
Look for these features:



- Temperature control – Adjustable settings between 250°F and 400°F let you match heat to your hair type.
- Ceramic or tourmaline coating – These materials distribute heat calories evenly and emit negative ions that reduce static.
- Quick‑heat technology – A 30‑second preheat saves time and keeps the iron from overheating.
- Auto‑off safety – Prevents accidental burns if you forget to unplug.
Brands like ghd, BaBylissPRO, and HSI offer compact, high‑performance irons that fit this profile. If you have fine or damaged hair, opt for a lower temperature setting and a ceramic barrel to minimize heat stress.
Preparing Your Hair for Straightening
1. Wash & Condition with a Heat‑Protective Formula
Start with a clean canvas. Use a sulfate‑free shampoo followed by a heat‑protectant conditioner that contains silicones or polymers. These ingredients form a thin film around each strand, reducing heat damage. Rinse thoroughly and avoid over‑washing, which can strip natural oils.
2. Towel‑Dry Gently, Then Apply Heat Protectant
Pat your hair dry with a microfiber towel—no vigorous rubbing. After towel‑drying, apply a lightweight heat protectant spray or serum. Focus on the mid‑lengths and ends, where heat damage is most likely. A product with a 200‑degree heat rating is sufficient for short styles.
3. Use a Leave‑In Conditioner or Anti‑Frizz Serum
If you have frizz or flyaways, a leave‑in conditioner with a lightweight silicone (like dimethicone) can help. Apply a pea‑size amount to damp hair, comb through, and let it sit for a minute before styling.
Sectioning Your Hair for Maximum Control
Short hair offers less bulk, but proper sectioning still ensures even heat distribution. Use a fine‑tooth comb to divide the hair into 4–6 sections, depending on thickness:
- Top layers: Cut the hair at the front and back, then comb forward.
- Side layers: Create vertical sections from ear to ear.
- Back layers: Separate the middle from the outer edges.
Label each section with a clip or hair tie. This makes the process organized and prevents overlapping heat application.
The Straightening Process: Step‑by‑Step
1. Heat the Iron to the Correct Temperature
Set the iron to 300°F for fine hair and 350°F for thicker or coarser strands. If you’re unsure, start lower and test; you can always increase heat slightly. Avoid exceeding 400°F to protect your scalp and hair.
2. Clamp a Small Section and Glide
Take a 1‑inch section of hair. Place the clamp at the root, then slowly glide the iron down to the tip. Keep the motion smooth and consistent—rough jerks can create uneven lines. Repeat for each section.
3. Use a Comb for Extra Precision
After the first pass, run a fine‑tooth comb through the section while the iron is still hot. This helps straighten any remaining curls and removes any residual frizz. Be careful not to pull too hard; the heat will keep the hair pliable.
4. Repeat Until All Sections Are Straight
Work systematically: front, sides, then back. If a section feels uneven, re‑apply a quick pass. For a glossy finish, make a second pass at a slightly higher temperature (but stay under 380°F).
Post‑Style Care: Locking in the Smoothness
1. Finish with a Light Mist of Heat Protectant
After you’re done, spray a light mist of heat protectant or an anti‑frizz serum over the entire head. This creates a barrier against humidity and keeps the style intact.
2. Seal with a Hair Oil or Light Serum
A few drops of argan oil or a lightweight serum applied to the ends can reduce frizz and add shine. Avoid heavy products that weigh down the cut.
3. Use a Soft‑Tissue or Microfiber Towel to Set the Style
Pat the hair gently to remove excess moisture. This step prevents the iron’s residual heat from causing a “hot” look.
Common Mistakes and How to Avoid Them
- Using too high a temperature – Over‑heating can cause split ends and breakage. Start low and adjust as needed.
- Skipping heat protectant – Even a small amount can reduce damage. If you’re in a hurry, a quick spray is better than none.
- Leaving the iron in one place too long – This burns the hair. Keep the iron moving at a steady pace.
- Using a large barrel on short hair – This can create uneven heat and cause frizz. Stick to a 1‑inch barrel.
- Not sectioning properly – Overlapping sections can lead to uneven straightening. Keep sections clean and labeled.
Advanced Techniques for a Salon‑Quality Finish
1. The “S” Technique for Volume and Shine
After straightening, run the iron in a gentle “S” motion across the hair. This creates a subtle wave that adds dimension while maintaining smoothness.
2. Using a Diffuser for Textured Straight Hair
If you want a slightly wavy, natural look, set your dryer to low heat and attach a diffuser. Gently dry the hair while flipping it upside down to keep the straightened shape.
3. Incorporating a Flat Iron Brush
For those who struggle with grip, a flat iron brush—comb and iron in one—offers better control. It’s especially useful for tight curls or very short layers.
FAQ: How to Straighten Short Hair
Q1: Can I straighten straight hair with a flat iron?
A: Yes—straightening can smooth out any uneven texture or fine frizz. Use a low heat setting (250–300°F) and a lightweight protectant to avoid over‑processing.
Q2: How long does it take to straighten short hair?
A: For a 3‑inch bob, the process usually takes 15–20 minutes, including prep and post‑care. Timing depends on hair thickness and the number of sections.
Q3: Is it safe to use a flat iron on damaged hair?
A: If your hair is severely damaged, it’s best to avoid heat styling. If you must, use the lowest temperature, apply a deep‑conditioning mask beforehand, and limit sessions to once a week.
Q4: What’s the best heat protectant for short hair?
A: Look for products with silicones, ceramides, or amino acids. Brands like OGX, Moroccanoil, and L’Oréal’s Advanced Hairstyle heat protectants are proven to work well on short cuts.
Q5: How can I keep my straight short hair looking smooth all day?
A: Finish with a light mist of anti‑frizz serum, avoid touching the hair too much, and use a satin pillowcase to reduce friction while you sleep.
Conclusion
Mastering how to straighten short hair is less about fancy equipment and more about technique, preparation, and aftercare. By choosing the right flat iron, protecting your strands, and following a systematic approach, you can achieve a sleek, glossy look that lasts all day. Remember, the key to longevity is gentle heat, consistent motion, and the right finishing products. With practice, your short cut will become a versatile canvas for any look—from polished office chic to relaxed weekend vibes.
For further reading, see related references on Wikipedia.
Leave a Reply