
How to use a curling iron for beginners can seem intimidating, but with the right steps, you can create beautiful curls in minutes.
How to Use a Curling Iron for Beginners: Step-by-Step Guide
Curly hair has never been easier to achieve. Whether you’re chasing beach waves, bouncy ringlets, or soft curls, a curling iron is a versatile tool that lets you shape your hair exactly how you want it. This guide walks you through everything you need to know to get started, from choosing the right iron to mastering the curling technique and avoiding common pitfalls.
Why a Curling Iron Is a Must-Have
- Control: A curling iron gives you precise control over curl size, shape, and intensity.
- Versatility: From tight ringlets to loose beach waves, you can change your look with different barrel sizes.
- Speed: Compared to rollers or braiding, curling irons produce results quickly.
- Heat Protection: Modern irons come with temperature settings and ceramic coatings that reduce damage.
Safety First: Protecting Your Hair and Skin
Before you start curling, keep these safety tips in mind:


- Use a heat protectant spray or serum on damp hair to shield strands from high temperatures.
- Adjust the iron’s temperature to suit your hair type: fine or damaged hair needs low heat (300°F–350°F), while thick or coarse hair can handle high heat (350°F–400°F).
- Never leave the iron unattended while hot.
- Keep the iron away from water and moisture to avoid electric shock.
- After styling, let your hair cool completely before applying styling products.
Choosing the Right Curling Iron
Not all curling irons are created equal. Here’s what to look for when selecting a beginner-friendly model:
- Barrel Diameter: 1/2″ to 1/4″ for tight curls, 1″ to 1 1/2″ for loose waves.
- Material: Ceramic or tourmaline barrels distribute heat evenly and reduce frizz.
- Temperature Control: Adjustable settings allow you to match heat with hair type.
- Auto Shut-Off: A safety feature that turns the iron off after a period of inactivity.
Preparing Your Hair for Curling
Proper preparation unlocks the full potential of your curls:
- Wash and Condition: Start with clean hair that’s free of heavy styling products.
- Apply Heat Protectant: Spray or mist a heat protectant evenly, then comb through to distribute.
- Dry Hair Completely: Damp hair can cause uneven heat distribution and damage.
- Section Your Hair: Divide your hair into manageable sections—usually 1/4 to 1/2 inch wide—depending on thickness.
Step-by-Step Curling Technique
Follow these steps for consistent, salon-quality curls:
- Turn on the Iron: Set the desired temperature and wait for the barrel to reach the right heat.
- Pick a Section: Grab a small section of hair (about the width of a pencil).
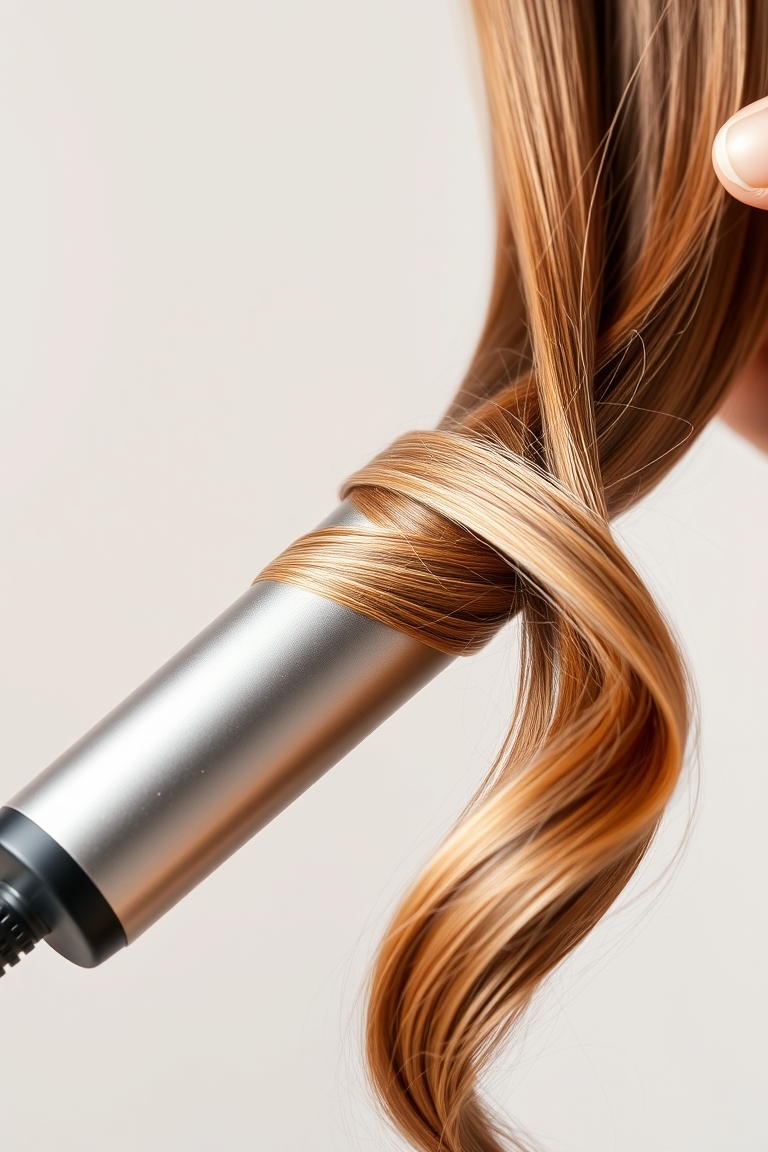
- Wrap the Hair: Place the hair at the base of the barrel, then wrap it clockwise or counterclockwise depending on the curl direction you want.
- Hold and Release: Hold the curl for 5–10 seconds, then release the hair from the barrel.
- Let It Cool: Allow the curl to set for a few seconds before touching or brushing.
- Repeat: Continue with the next section until all hair is curled.
For a more relaxed wave, leave the hair in the barrel longer and avoid tension.
Curling Iron Tips for Different Hair Types
- Fine or Damaged Hair: Use a smaller barrel and the lowest heat setting to avoid breakage.
- Thick or Coarse Hair: A larger barrel and higher heat will help the curls hold better.
- Curly or Textured Hair: Focus on wrapping sections from the ends to the roots for natural-looking waves.
- Color-Treated Hair: Use a lower temperature and a heat protectant specifically designed for color.
Common Mistakes to Avoid
- Leaving the iron on too long, which can scorch hair.
- Using a hair dryer on high heat after curling, which can cause frizz.
- Overcrowding the barrel with too much hair, leading to uneven curls.
- Skipping heat protectant, especially for fine or thin strands.
- Failing to let curls cool before applying hairspray, which can lock in heat and damage.
Maintenance and Care for Your Curling Iron
Keep your curling iron in top shape with these simple steps:
- Clean the Barrel: Wipe with a damp cloth after each use to remove product buildup.
- Check for Damage: Inspect the cord and plug for fraying or exposed wires.
- Store Properly: Wrap the cord loosely and place the iron in a cool, dry place.
- Replace When Needed: If the barrel becomes cracked or the temperature fluctuates, it’s time for a new iron.
Quick Fix: Restyling Curls in Minutes
On a busy day, you can revive your curls with a quick touch-up:
- Use a small section of a curling iron to re-wrap stubborn strands.
- Apply a light mist of water or a curl-enhancing spray to give the hair a fresh look.
- Finish with a silk or satin pillowcase to reduce frizz overnight.
Conclusion: Mastering the Curling Iron
With practice, patience, and the right technique, mastering how to use a curling iron for beginners becomes second nature. Remember to keep safety in mind, choose the appropriate heat setting, and experiment with different barrel sizes to find your signature look. If you’re looking to pair your curling iron with a heat styling tool for a full styling routine, explore the range of straighteners and diffusers for versatile results.
Professional Tips & Tricks from Salon Experts
Even seasoned stylists have a few tricks up their sleeve that can elevate your curling game. Below are insights from industry professionals that you can apply right at home.
1. Use a Heat Guard Spray
Heat guard sprays contain silica or ceramic particles that reflect a portion of the heat back to the iron, reducing the temperature needed to achieve the same curl. This means less damage and a smoother finish.
2. Start at the Ends
When curling longer hair, begin at the ends and work your way up toward the roots. This technique prevents the barrel from getting clogged and ensures the curls are even.
3. Combine with a Diffuser
After curling, lightly mist your hair with a leave‑in conditioner and use a diffuser attachment on a low‑heat setting to set the curls without flattening them. Stylists swear this gives a more natural, voluminous look.
4. Keep the Iron Clean
Product residue can cause uneven heat distribution, leading to frizz. Stylists recommend wiping the barrel with a microfiber cloth after every use and occasionally soaking it in a mixture of water and a drop of mild dish soap.
5. Use a Silk Pillowcase
Silk or satin pillowcases reduce friction, preventing frizz and breakage overnight. Stylists say this simple change can keep curls intact for 24 hours.
Choosing the Right Accessories for Your Curling Routine
Beyond the iron itself, a few accessories can make a noticeable difference in the quality and longevity of your curls.
Barrel Sizes You Should Know
- 1/4″–1/2″: Ideal for tight
Leave a Reply