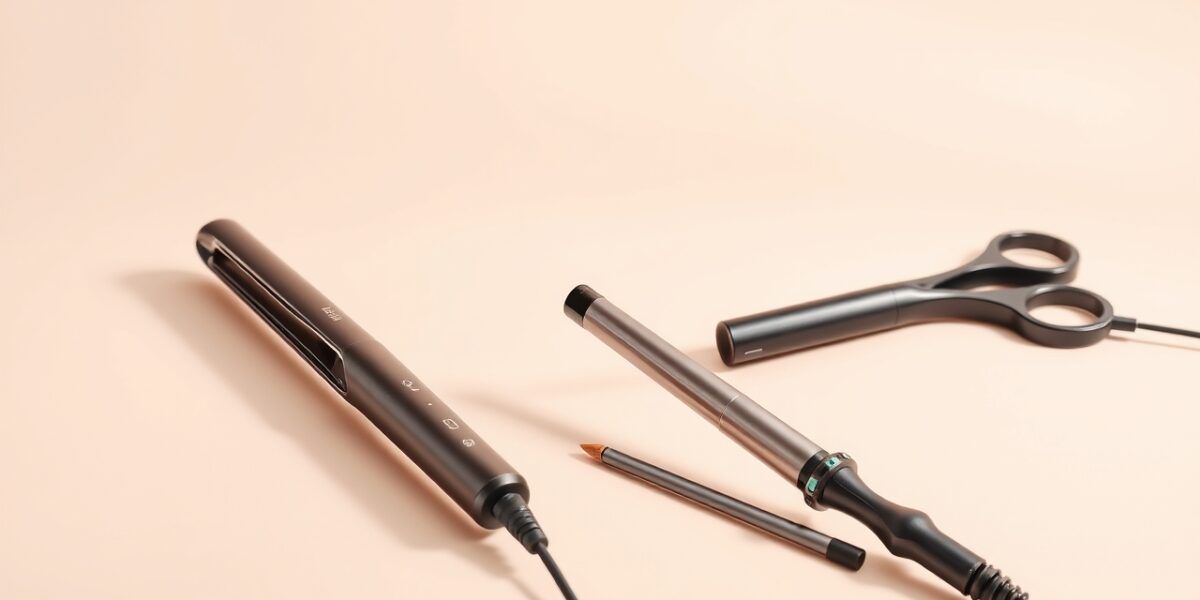
Heat styling tools like flat irons, curling wands, and blow dryers generate high temperatures that can strip moisture and weaken the cuticle layer. Over time, repeated exposure leads to a cascade of visible changes. Below are the most common signs people often overlook until the damage is severe.
Signs of Heat Damaged Hair
- Dryness and Frizz: Hair feels dry to the touch, and frizz becomes more pronounced, especially in humid conditions.
- Split Ends: The tips of your strands split into multiple points, giving a frayed appearance.
- Loss of Elasticity: Hair snaps or breaks when you try to stretch it, indicating a loss of resilience.
- Weakened Cuticle: The protective outer layer is worn down, making hair feel rough and feel like sandpaper.
- Color Fading: Heat can accelerate color fading, so even lightly dyed hair may show dull or uneven tones.
- Scalp Irritation: Heat can cause scalp dryness or irritation, leading to itching or flaking.
Heat Damage Symptoms Explained
Understanding why these symptoms appear helps you take proactive steps. Heat denatures keratin, the protein that gives hair its strength. When keratin bonds break, the hair shaft weakens and loses its natural shine. The science behind this process is well documented. According to the Wikipedia page on heat damage, high temperatures can alter the internal structure of hair, causing it to become more porous and less resilient.
Identifying Over Styled Hair
Over styling is a common culprit. If you use a flat iron more than twice a week, or if you keep the heat setting above 400°F for extended periods, you’re likely pushing your hair toward permanent damage. Signs of over styled hair include:



- Constant need for a heat protectant before styling.
- Visible “heat rings” or burn marks around the hair shaft.
- Hair that feels stiff or brittle even after washing.
Understanding the Anatomy of Hair
Before diving into solutions, it’s useful to know what you’re fighting. Hair is made of three main layers:
- Cuticle: The outermost layer, composed of overlapping scales that protect the inner layers. When the cuticle is intact, hair looks shiny and feels smooth.
- Cortex: The middle layer containing keratin fibers and pigment. This is where most of the strength and elasticity come from.
The innermost core, present only in thicker hair types.
Heat styling primarily damages the cuticle, making it flaky and porous. Once the cuticle is compromised, the cortex is exposed to further damage, leading to the symptoms listed above.
Common Misconceptions About Heat Styling
- “Low heat is always safe.” Even temperatures as low as 300°F can cause damage if used repeatedly or if the hair is already compromised.
- “I can style my hair every day.” Daily heat exposure accelerates protein loss, especially in fine or previously treated hair.
- “Heat protectants are optional.” They form a protective barrier that can significantly reduce damage, especially when combined with the right temperature settings.
Choosing the Right Heat Protectant
Not all heat protectants are created equal. Here’s what to look for:
- Silicone-based formulas: Provide a smooth coating that reduces friction.
- Natural oil blends (argan, jojoba, coconut): Offer deep hydration and help seal the cuticle.
- Protein-infused sprays: Reinforce the cortex with additional keratin.
- SPF-rated products: Protect against UV damage, which can compound heat damage.
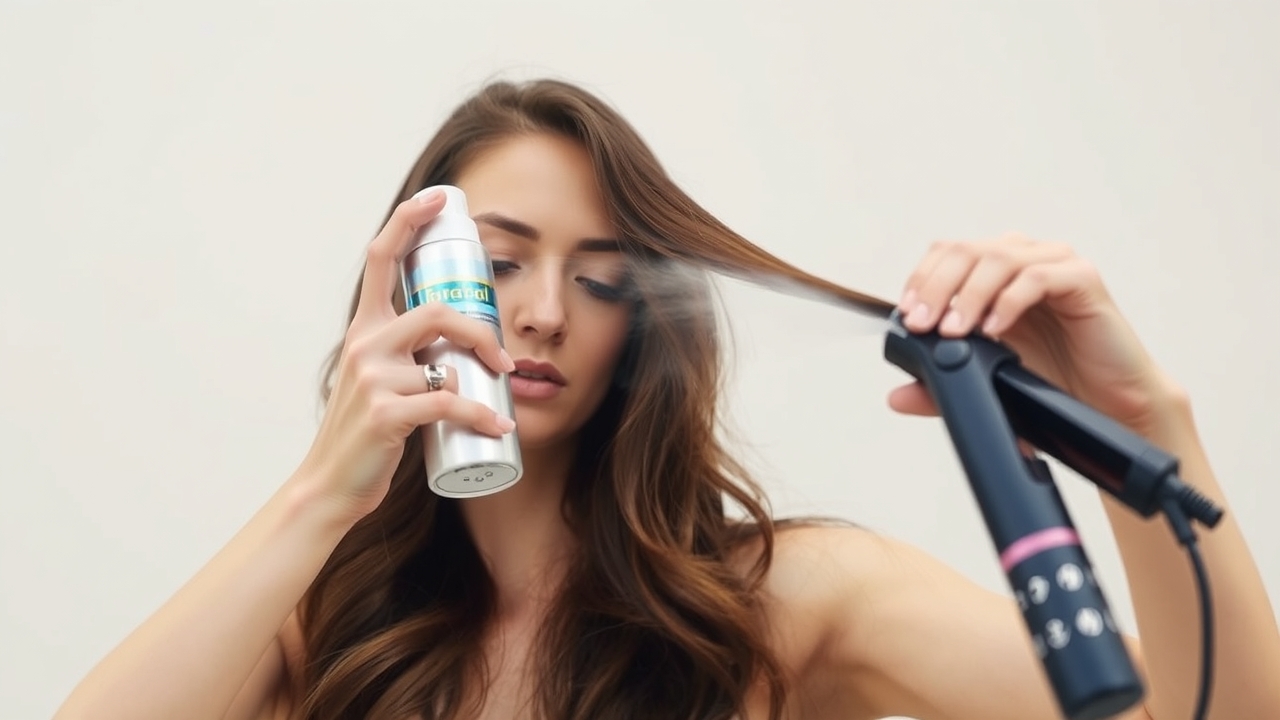
Application tip: Spray or mist evenly from mid-length to ends, avoiding the scalp to prevent buildup.
Step‑by‑Step Routine to Repair Heat Damage
Step 1: Deep Conditioning (Protein + Moisture)
Use a protein-rich mask once a week. Apply generously, leaving it on for 15–20 minutes before rinsing. The protein helps rebuild the hair’s backbone, while the oils lock in moisture.
Step 2: Moisture‑Rich Leave‑In
After washing, apply a lightweight leave‑in conditioner. This creates a protective barrier against heat and keeps the hair hydrated.
Step 3: Heat Protection
Before styling, spray a heat protectant. Look for ingredients like silicones or natural oils that provide a shield.
Step 4: Use Lower Temperatures
Set your tools to the lowest effective temperature. Many modern straighteners have “low heat” settings that still provide styling power without excessive damage.
Step 5: Limit Frequency
Give your hair a break. Try alternating heat styling days with no‑heat days or use a diffuser to reduce direct heat.
DIY Home Remedies for Heat Damage
- Egg Mask: Beat one egg, mix with a tablespoon of olive oil, and apply to damp hair. Leave for 10 minutes before washing. Eggs provide protein and moisture.
- Honey & Coconut Oil: Mix 2 tablespoons of honey with 1 tablespoon of coconut oil. Apply to hair, leave for 20 minutes, then rinse. Honey is a humectant that draws moisture in.
- Avocado & Yogurt: Mash half an avocado, mix with 2 tablespoons of plain yogurt, and apply to hair. Avocado offers vitamins, while yogurt adds protein.
Professional Treatments to Consider
- Keratin Reconditioning: A salon-based treatment that smooths the cuticle and adds protein.
- Hydrolyzed Collagen Mask: A deep conditioning treatment that replenishes protein.
- Micro‑treatment (e.g., Luster 360): Uses micro‑bubbles to infuse moisture and nutrients.
When to Seek a Stylist
If you notice:
- Severe breakage or hair loss.
- Persistent scalp irritation or dermatitis.
- Unresponsiveness to home treatments.
Consult a professional. A trichologist can assess damage level and recommend tailored treatments.
Long‑Term Hair Health Plan
- Trim every 6–8 weeks to eliminate split ends.
- Limit chemical treatments (bleaching, relaxing, perming).
- Incorporate a weekly deep conditioning routine.
- Use a silk or satin pillowcase to reduce friction overnight.
- Maintain a balanced diet rich in omega‑3 fatty acids, vitamins A, C, D, and E.
Choosing the Right Heat Styling Tool
Not all tools are created equal. Look for those that offer a uniform heat distribution and have a ceramic or tourmaline coating. These materials help reduce hotspots and protect the hair shaft.
Real Life Example: From Damage to Shine
Consider the case of Maya, a 32‑year‑old graphic designer. She used a flat iron daily at 450°F for 3–4 years. After noticing frizz and breakage, she switched to a ceramic straightener set at 350°F, added a protein mask weekly, and cut her split ends. Within a month, her hair felt softer, and the shine returned. Maya also started using a silk pillowcase and limiting her use of chemical relaxers, which further accelerated her recovery.
Internal Resource
For more detailed guides on heat styling and hair health, visit our resource page and explore a range of techniques tailored for every hair type.
Frequently Asked Questions
- Signs of heat damaged hair: What should I look for first?
- The most noticeable early signs are dryness, frizz, and split ends. If you spot these, it’s time to reassess your styling routine.
- Can I recover hair that’s already split?
- While split ends can’t be “cured,” trimming them away and using protein treatments can stop further splitting and improve overall texture.
- How often should I use a heat protectant?
- Every time you style with heat. Even a light mist can shield your strands from high temperatures.
- Is it safe to use a straightener on wet hair?
- No. Wet hair is more vulnerable to heat damage; always dry it first.
- What temperature is safest for heat styling?
- Lower temperatures (300–350°F) are generally safer for most hair types, especially fine or damaged strands.
Leave a Reply