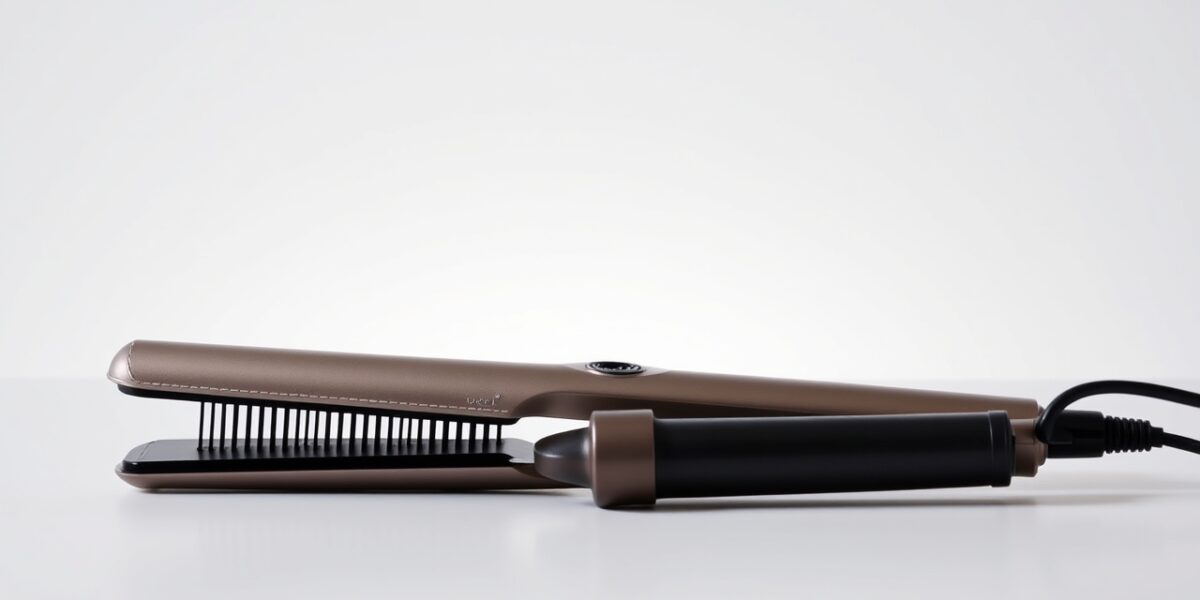
Do you need a heat protectant? The answer might surprise you, as it plays a crucial role in maintaining hair health during styling. While some people skip it for convenience or because they think it’s unnecessary, the science and everyday experience show that heat protectants are a key ally for anyone who uses heated tools.
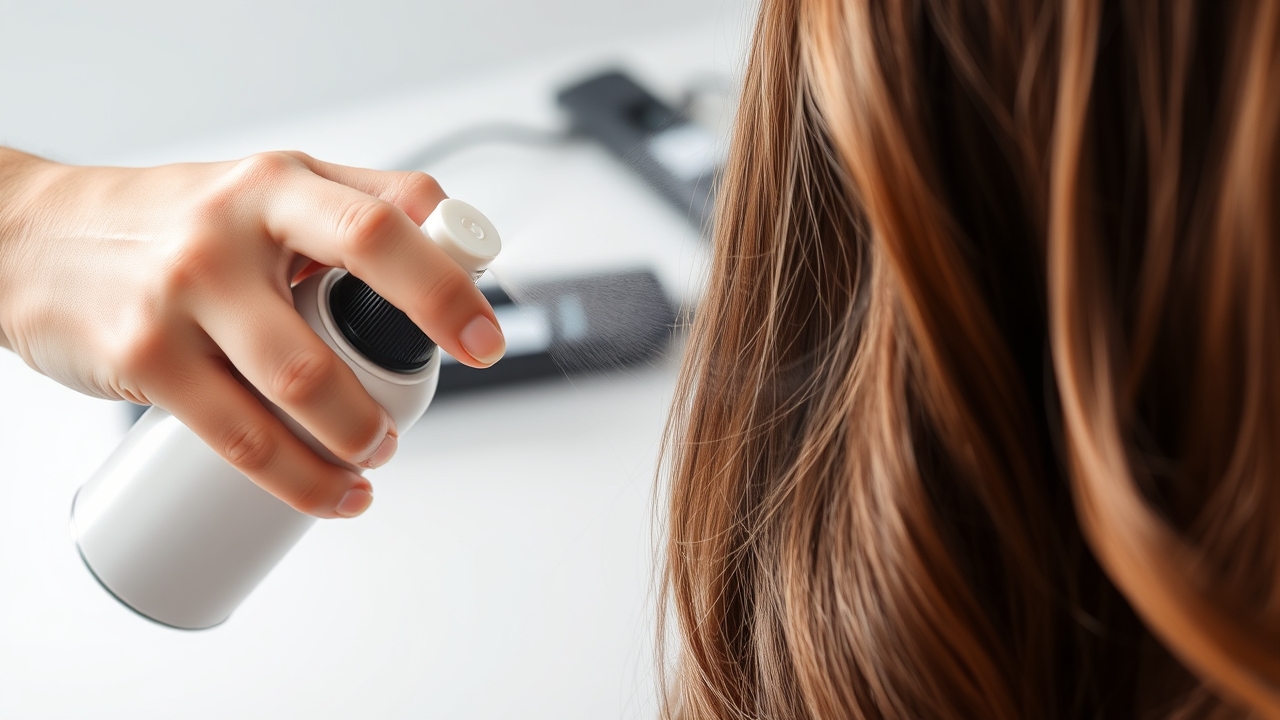
Do You Need a Heat Protectant?
When you think of heat styling, the first thing that comes to mind is the tool itself: a straightener, curling iron, or blow‑dryer. However, the process of heating hair can strip moisture, damage cuticles, and cause protein breakdown. A heat protectant is designed to act as a shield, forming a thin barrier that reduces direct contact between the heat source and the hair shaft. This barrier can lower the temperature the hair actually experiences and keeps the hair’s internal structure intact.
In practice, this means fewer split ends, less frizz, and a more polished finish. If you’ve ever noticed that your hair feels rough after a session with a flat iron, or that it’s more brittle than usual, you’re likely seeing the effects of heat damage that a protectant could have mitigated.



Why Use a Heat Protectant?
One of the most common misconceptions about heat protectants is that they’re only for people with fine or chemically treated hair. In reality, any hair type—whether thick, coarse, or oily—benefits from a protective layer when exposed to heat. The underlying principle is the same: heat causes the cuticle layers to lift, and if the cuticle is already compromised, the damage is magnified.
Heat protectants typically contain polymers, silicones, and conditioning agents that coat the hair shaft. When you apply the product, it spreads evenly across the strand, creating a semi‑permeable film. This film reflects a portion of the heat and allows the hair to absorb only what it needs to achieve the desired styling outcome. The result is a more controlled styling process and a lower risk of thermal injury.
Heat Protectant Benefits
- Reduces heat absorption, lowering the risk of protein denaturation.
- Creates a smoother surface, allowing tools to glide more easily.
- Adds moisture and conditioning to the hair, counteracting dryness.
- Improves the longevity of styles by maintaining cuticle integrity.
- Can be formulated with UV protection for additional guard against sun damage.
Because many heat protectants contain additional ingredients such as vitamins, panthenol, or natural oils, they often provide a secondary conditioning benefit. That’s why many people notice an immediate softness or shine after the first few uses.
Skipping Heat Protectant: What Happens?
When you skip the protectant, the heat source directly contacts the hair shaft. The hair’s cuticle layers lift, exposing the cortex where the protein structure exists. Repeated exposure to temperatures above 150°F (65°C) can break down keratin, leading to permanent damage. The symptoms of neglecting a protectant include:
- Visible frizz and rough texture.
- Increased breakage and split ends.
- Loss of shine and elasticity.
- Longer time required to dry and style.
In extreme cases, especially for those who use high‑temperature styling tools daily, the hair can become so compromised that it’s difficult to achieve a smooth finish without a protectant.
Choosing the Right Heat Spray for Your Hair Type
Not all heat protectants are created equal. The best product depends on your hair’s specific needs. Below is a quick guide to help you decide:
- Fine or limp hair: Look for lightweight sprays that won’t weigh strands down. Products with silicones like dimethicone can give a silky finish without bulk.
- Thick or coarse hair: A richer formula with polymers such as PVP–VA can add enough friction to help the tool glide smoothly.
- Color‑treated or chemically processed hair: Choose a protectant that contains protein or amino acids to help rebuild the hair’s structure.
- Curly or wavy hair: A spray that adds moisture and reduces frizz will maintain the curl pattern while protecting against heat.
Many manufacturers now offer heat protectants with added UV filters. If you spend a lot of time outdoors, consider a dual‑purpose product that shields both from heat and sun.
Application Techniques for Maximum Protection
Even the best protectant won’t help if it’s applied incorrectly. Here’s a step‑by‑step approach:
- Start with dry or slightly damp hair: A dry application ensures that the product coats the entire shaft, while a damp application helps lock in moisture.
- Hold the bottle 6–8 inches away: This distributes the mist evenly and prevents clumping.
- Shake well before use: Heat protectants often contain layered ingredients that need to be mixed.
- Apply to the mid‑lengths and ends first: These areas are more prone to damage.
- Work through the roots last: The roots are thicker and can absorb more product.
- Let it air‑dry for a minute: This allows the film to set before you start styling.
- Do not use too much: A thin coat is usually sufficient; excess product can weigh hair down.
After you’ve styled, you can finish with a light mist of the same protectant to keep the cuticle sealed as the hair cools.
Expert Ergonomics and Tool Choice
While a heat protectant is a vital part of the styling routine, the choice of tool and its temperature setting also matters. A straightener that automatically adjusts to the optimal temperature for your hair type can reduce the need for excessive heat. Pairing this with a high‑quality protectant creates a synergistic effect that keeps hair healthier over time. For those seeking a deeper understanding of heat treatment, you can read more on the topic at Wikipedia’s Heat treatment of hair page.
Internal Resource for Further Reading
If you’re ready to explore more about the science behind heat styling, our hair straightener guide offers detailed insights into tool selection, safety tips, and maintenance.
Types of Heat Protectants
Heat protectants come in three main forms, each suited to different styling habits and preferences:
- Sprays: The most common choice for quick, even coverage. Ideal for all hair types and easy to housed in a travel kit.
- Serums and Creams: Provide a richer barrier, great for thick or very dry hair. They often contain more conditioning oils and can add shine.
- Leave‑in Conditioners with Heat Protection: A hybrid product that moisturizes and shields simultaneously. Perfect for those who want to simplify their routine.
When to Pick Which Form
- Spray – if you use a straightener or curling iron once or twice a week.
- Serum/Cream – if you have coarse, frizzy, or chemically altered strands that need extra nourishment.
- Leave‑in – if you’re looking for multitasking benefits and rarely use heat.
DIY Heat Protectant Recipes
For the eco‑conscious or budget‑savvy, a homemade heat protectant can be surprisingly effective. Here’s a simple recipe that uses ingredients you likely already have at home:
- 1 tablespoon coconut oil – provides natural conditioning and a subtle barrier.
- 1 tablespoon argan oil – rich in vitamin E and fatty acids, it smooths the cuticle.
- 1 teaspoon glycerin – a humectant that draws moisture into the hair.
- 1 tablespoon water – helps create a mistable solution.
- Mix all ingredients in a spray bottle and shake well.
- Spray lightly onto damp hair before heat styling.
While this DIY mix won’t reflect heat as effectively as commercial silicones, it does provide moisture and a light protective layer that can reduce frizz and breakage.
Common Mistakes to Avoid
- Using too much product: A heavy coat can weigh hair down and create a greasy appearance.
- Ignoring the ends: The ends are the most vulnerable; skip them and you sleeve damage.
- Applying before blow‑drying: If the hair is still wet, the heat protectant can be washed away by the dryer’s airflow.
- Not reapplying during long sessions: Heat can degrade the protective film; a quick mist after each pass keeps the barrier intact.
- Choosing a product with high alcohol content: Alcohol can strip natural oils, exacerbating dryness.
Real‑Life Testimonials
“I used to skip the protectant because I thought it was just another step. After a month of using a lightweight spray before every flat iron session, my hair feels smoother, and I’ve noticed fewer split ends.” – Maria, 28, New York
“After my hair was chemically treated, I switched to a serum‑type protectant that contains keratin. My curls stay defined longer, and I’ve cut down on frizz dramatically.” – Jamal, 34, Atlanta
Frequently Asked Questions
Do you need a heat protectant if I only use a blow‑dryer?
Yes. Even a blow‑dryer emits heat that can damage hair. A lightweight protectant can reduce the risk of dryness and frizz.
Can I use a leave‑in conditioner instead of a heat protectant?
Leave‑in conditioners help with moisture but often lack the heat‑reflective barrier needed. It’s best to use a product specifically formulated as a heat protectant.
How often should I reapply heat protectant during a styling session?
Most products are designed to last the duration of a single styling session. If you’re using multiple tools or the session is extended, a quick re‑spray can help maintain protection.
Is it safe to use a heat protectant on color‑treated hair?
Yes, many heat protectants contain ingredients that help preserve color by reducing oxidation and UV exposure.
Does a heat protectant work on natural hair without any chemical treatments?
Absolutely. All hair types benefit from a protective barrier when exposed to heat, whether the hair is natural or processed.
Leave a Reply