When you’re ready to tame those waves, the secret isn’t just in the iron—it’s in the preparation, the right tools, and the after‑care that keeps your hair looking sleek for days. Below is a step‑by‑step playbook that turns a messy curl into a glass‑smooth finish while protecting your strands from heat damage.
1. The Foundation: Prep Your Curls for Heat
Heat styling is a delicate dance. If you start with damp curls, you’ll end up with a scorched, frizzy mess. Think of the hair shaft as a tiny water‑filled balloon—if you heat it too quickly, the water boils and the balloon bursts. That’s why the first step is a thorough, low‑heat wash and a deep‑conditioning routine that targets your curl type.
Choose the Right Cleansing Routine
- Smoothing Shampoo: Look for products with keratin, silk proteins, or panthenol. These ingredients help close the cuticle and lay the stage for a flat iron.
- Lightweight Conditioner: Skip the heavy butter‑laden formulas that sit on top of tight curls. A water‑based, leave‑in conditioner keeps moisture in without weighing the strands down.
- Deep Conditioning (Optional): If your curls are on the drier side, treat them to a protein‑rich mask the night before you plan to straighten. This step reduces breakage and gives the iron more surface to work on.
Master the Blow‑Out
A blow‑out isn’t just a quick dry; it’s a pre‑heat treatment that stretches the curl pattern, making the iron glide smoother. Here’s a quick routine:


- Section your hair into four quadrants for even coverage.
- Start at the roots—use a round brush to lift and pull the hair upward while the dryer’s nozzle is angled downward.
- Work in a downward motion, keeping the heat medium (around 300°F) to avoid scorching.
- Finish with a cool blast to seal the cuticle.
2. Tool Talk: Picking the Right Flat Iron for Thick Curls
Not all flat irons are created equal. The material and temperature control can make or break your straightening session.
Ceramic vs. Titanium Plates
- Ceramic: Ideal for fine to medium hair. It distributes heat evenly and reduces frizz.
- Titanium: Best for thick, coarse, or tightly coiled curls. Titanium heats faster and holds a higher temperature, which is necessary to break the stronger hydrogen bonds in dense curls.
Temperature Settings
Start low and work your way up. Over‑heating is the quickest path to split ends.
- Fine or damaged hair: 250–300°F
- Medium or normal hair: 300–350°F
- Thick, coarse, or curly hair: 350–410°F
3. Straightening 101: Step‑by‑Step Execution
With prep complete and the right iron in hand, it’s time to straighten. The key is precision: small sections, consistent pressure, and a steady hand.
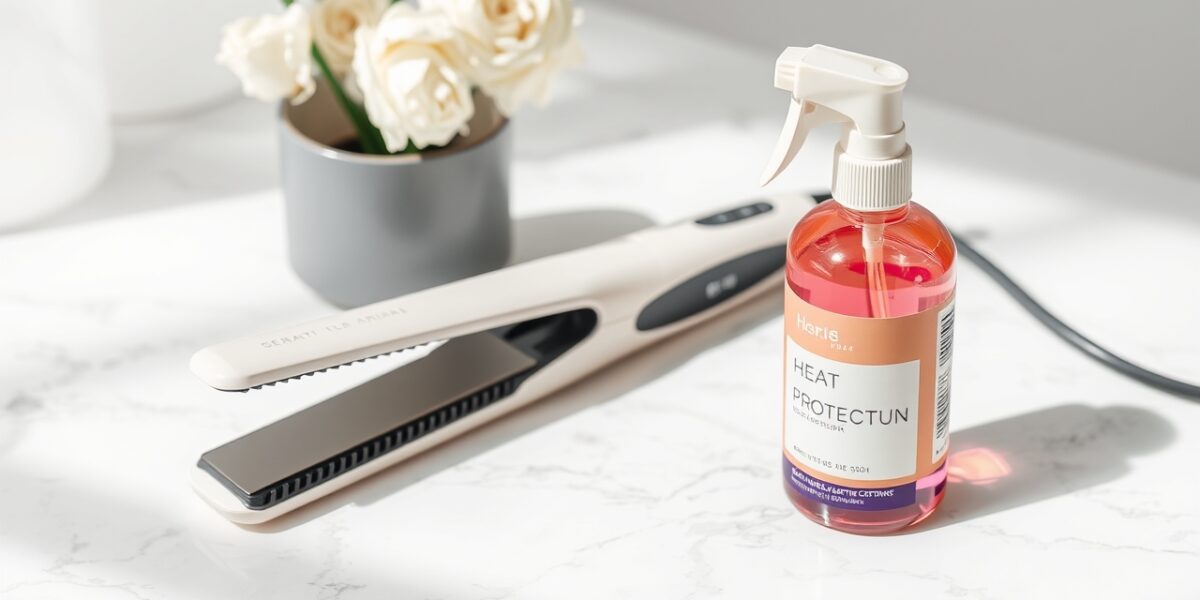
Step 1: Heat Protectant First
Never skip the heat protectant. A lightweight spray or serum forms a shield that slows heat transfer and reduces damage. Apply from mid‑shaft to ends—avoid the scalp to keep the roots from looking greasy.
Step 2: The Chase Method
Use a fine‑tooth comb in front of the iron. As you glide the iron forward, the comb pulls every strand apart, ensuring even contact. This technique cuts the number of passes in half and leaves the hair smoother.
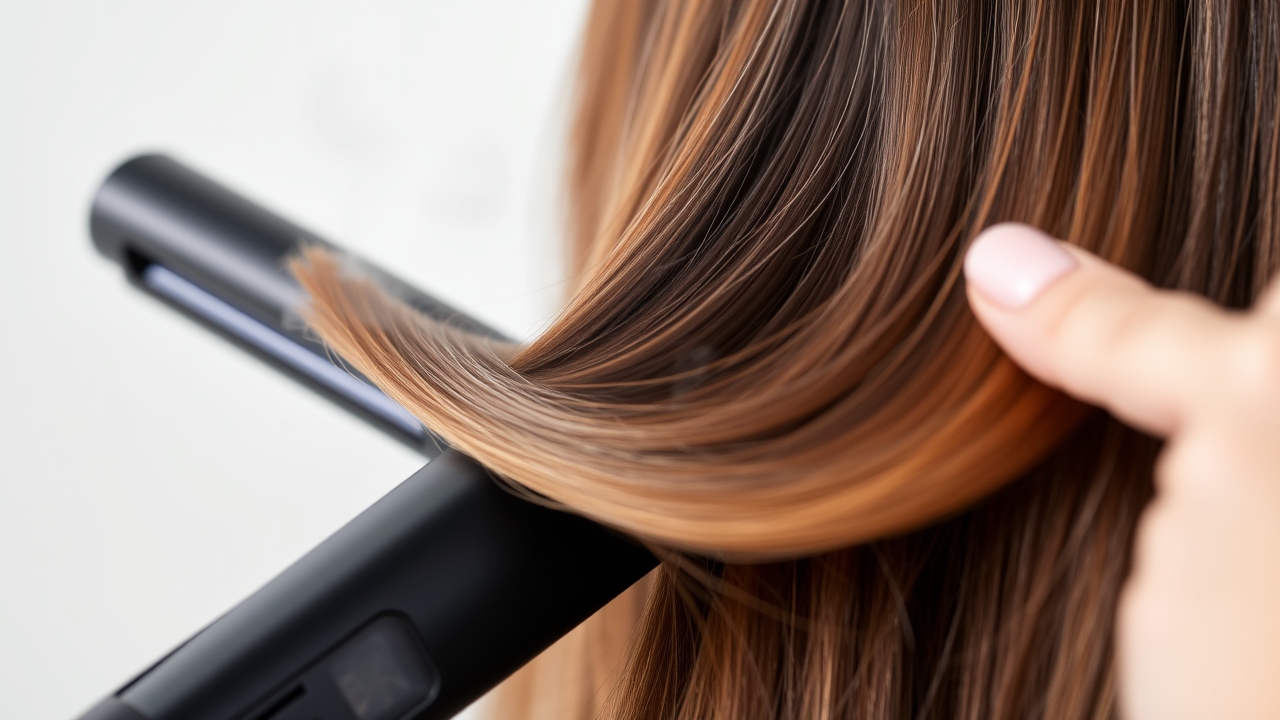
Step 3: Keep Sections Small
Take no more than a one‑inch section at a time. Larger chunks mean the inner strands never get enough heat, resulting in uneven straightening. Small sections also give you better control over the heat distribution.
Step 4: Glide, Don’t Drag
Start just above the scalp—never touch the skin—and glide the iron down at a steady pace. For the ends, give the iron a gentle inward curve to avoid a stiff, “straw‑like” look. Finish each section with a quick cool blast to lock the shape.
4. Tackling Thick, Coarse Curls
Thick curls often carry higher porosity, meaning they’re more prone to frizz and dryness. Here’s how to keep them smooth:
- Hydration First: A nightly protein mask can balance moisture and protein, making the strands more pliable.
- Lower Temperature, Double Pass: Instead of a single high‑heat pass, try two passes at 370°F. This gentler approach preserves the cuticle while still achieving straightness.
- Use a Heat‑Resistant Serum: A light serum after the final pass seals the cuticle and adds a subtle shine.
5. Locking the Look: After‑Care and Maintenance
Once the hair is straight, the real work begins—keeping it that way.
Finishing Touches
Let the hair cool before applying any product. A light mist of anti‑humidity spray or a tiny drop of lightweight oil can seal the cuticle and create a moisture barrier.
Sleeping Strategies
- Silk or satin pillowcases reduce friction, preventing morning frizz.
- Wrap your hair in a loose silk scarf or use a large satin bonnet to keep the strands intact.
6. Common Pitfalls to Avoid
- Straightening Damp Hair: This is the quickest route to “bubble hair.” Always blow‑dry to 100% before iron.
- Too Much Product: Heavy serums can stick to the iron and cause a sticky residue. Use sparingly.
- Neglecting the Ends: Ends are the oldest and most fragile. Use lower heat or move faster over them.
- Over‑Washing: Frequent washing removes natural oils. Use dry shampoo between washes to extend the straightening effect.
Looking for a reliable straightener? Check out quality hair straighteners that cater to every curl type.
7. Long‑Term Health for Frequent Straighteners
Heat styling can take a toll on your hair’s integrity. Here’s a simple recovery plan:
- Heat‑Free Week: Once a month, give your hair a break. Embrace natural curls or use heat‑less styling like braids.
- Deep Conditioning: A weekly protein or moisture mask rebuilds the hair shaft.
- Trim Every 6–8 Weeks: Cutting split ends stops them from traveling up the strand.
8. Heat Styling vs. Chemical Straightening
Heat styling offers flexibility—you can switch between curls and straightness whenever you like. Chemical relaxers or keratin treatments provide longer‑lasting results but involve harsh chemicals that permanently alter the hair. For most, a high‑quality flat iron paired with proper care is the safest route to a sleek look.
Frequently Asked Questions
How do I straighten curly hair without damaging it?
Use a high‑quality heat protectant, ensure the hair is completely dry, and keep the temperature as low as possible for your hair type. Limit heat passes and incorporate regular deep conditioning.
Can I straighten my hair while it is still damp?
No. Damp hair heats unevenly, leading to “bubble hair” and breakage. Always blow‑dry to 100% before using a flat iron.
Why does my hair frizz immediately after straightening?
Frizz often stems from dryness or humidity. A smoothing serum before styling and an anti‑humidity spray afterward create a barrier that keeps moisture out.
How often can I straighten my curly hair?
Limit flat ironing to 2–3 times a week. Allow several days of rest between sessions to let the hair recover its natural moisture balance.
What is the best temperature for thick, curly hair?
Start at 350°F and increase gradually if needed. Avoid exceeding 410°F to protect the cuticle.
With this guide, you’ll master the art of straightening curly hair while keeping your strands healthy and shiny. Happy styling!
Leave a Reply