
How to straighten hair without damage is a common concern for anyone who loves sleek tresses but fears the harsh effects of heat. In this guide, I’ll walk you through every detail—from choosing the right heat level to protecting your strands before and after styling—so you can enjoy the confidence of straight hair while keeping it healthy.
How to Straighten Hair Without Damage: A Step‑by‑Step Guide
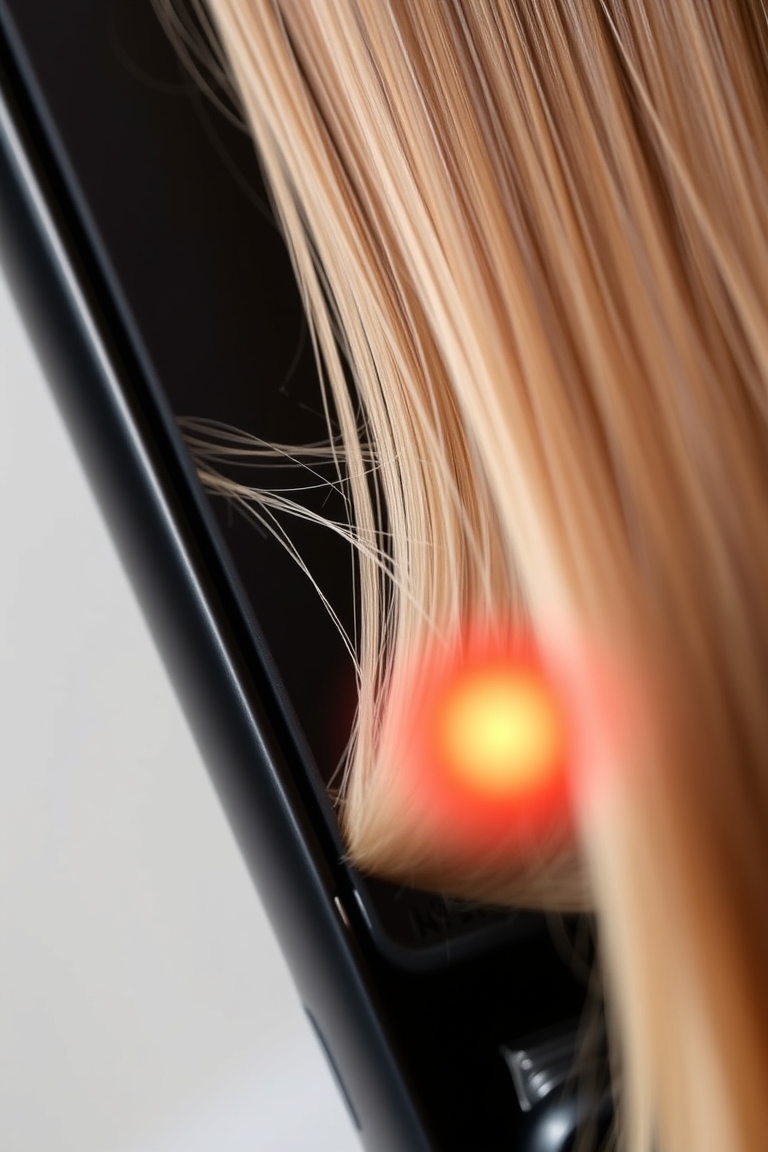
The core of safe straightening lies in understanding how heat interacts with the hair cuticle. When the cuticle lifts, moisture escapes, making the hair brittle and prone to breakage. By controlling temperature, using the correct tools, and applying protective products, you can minimize cuticle lift and preserve shine.
The Science Behind Heat Damage
Hair is a protein filament made primarily of keratin. Heat alters the disulfide bonds that give hair its shape. A temperature that is too high or held for too long will break these bonds, leading to frizz, split ends, and a dull appearance. The sweet spot for most hair types is between 350°F (177°C) and 410°F (210°C). Below 350°F, the heat may be insufficient for straightening; above 410°F, the risk of damage rises sharply.


For autour of the scientific explanation, see the Wikipedia entry on hair styling. It offers a thorough overview of how heat ORDER affects hair structure.
Choosing the Right Heat Level
Different textures respond to different temperatures:
- Fine or thin hair: 350°F–375°F (177°C–191°C). A lower temperature prevents over‑exposure.
- Medium to thick hair: 375°F–410°F (191°C–210°C). A higher setting helps to glide through dense strands.
- Very coarse or very curly hair: 410°F–450°F (210°C–232°C). In these cases, a higher temperature is often necessary, but use caution and limit the number of passes.
Always start at the lowest effective temperature and work upward if needed. Most modern straighteners feature an adjustable heat dial or digital display that makes this process straightforward.
Safe Straightening Techniques for Everyday Use
Before you even touch a straightening iron, you need to prepare your hair. This preparation step is critical for protecting hair straightening and achieving a damage‑free result.
Step 1: Clean and Condition
Wash your hair with a sulfate‑free shampoo and a protein‑rich conditioner. Sulfates strip natural oils, leaving the cuticle more vulnerable to heat. Protein helps reinforce the hair shaft, giving it a stronger base to withstand styling.
Step 2: Apply a Heat Protectant
Heat protectants create a barrier between your hair and the iron. Look for products that contain silicones, amino acids, or natural oils. Spray or apply a thin layer evenly, focusing on mid‑lengths and ends where damage is most likely.
Step 3: Detangle Gently
Use a wide‑tooth comb or a brush designed for wet hair to avoid tugging at knots, which can cause breakage. A smooth surface allows the straightener to glide, reducing friction and heat exposure.
Step 4: Section Your Hair
Divide your hair into manageable sections—usually four or six, depending on thickness. Tight sections reduce the number of passes needed and help maintain consistent heat distribution.
The Step‑by‑Step Safe Straightening Routine
With your hair prepped, it’s time to straighten. Follow this routine to keep the temperature low and the process efficient.
1. Warm the Iron
Allow the straightener to heat up to the chosen temperature. Modern irons often have a quick‑heat feature that takes just 30–60 seconds.
2. Start at the Roots
Place the iron at the base of a section, then slide it down to the ends. Keep the iron moving; pausing for long periods can cause localized heat damage.
3. Use Short, Even Passes
A single, continuous glide is preferable to multiple short passes. The latter increases heat exposure time and can raise the risk of frizz.
4. Finish with a Cool Down
After passing through a section, let the hair cool for a few seconds before moving to the next. This cooldown helps the cuticle close, locking in moisture.
5. Repeat on All Sections
Work through each section systematically. If you notice unevenness, a second pass at a slightly lower temperature is usually sufficient.
Maintaining Healthy Straight Hair
After straightening, the hair’s vulnerability doesn’t end. These aftercare steps help keep the strands resilient.
Use a Leave‑In Conditioner
Apply a lightweight leave‑in conditioner or serum to damp hair before blow‑drying. This adds moisture and smooths the cuticle.
Limit Heat Exposure at Night
When sleeping, avoid brushing or combing wet hair. Use a silk or satin pillowcase to reduce friction, which can cause breakage.
Trim Regularly
Removing split ends prevents damage from traveling up the shaft. A trim every 6–8 weeks keeps hair looking fresh.
Heat‑Free Straightening Alternatives
For those who want to avoid heat altogether, there are natural techniques that can flatten curls and coils without a flat iron.
- Banding: Wrap small sections of damp hair in hair ties, then let them dry. The tension keeps hair straight.
- Rolling: Use a rolling pin or a hair roller to lay curls flat as they dry.
- Blow‑Drying with a Brush: Comb through damp hair while blow‑drying, holding a round brush to straighten.
- Using a Flat Surface: Lie hair flat on a towel and let it dry; the towel’s weight helps straighten.
Common Mistakes to Avoid
Even with the best tools, certain habits can undo your efforts. Watch for these pitfalls:
- Using too high a temperature: Always start low.
- Leaving the iron in one spot for too long: Move constantly.
- Skipping heat protectant: A barrier is essential.
- Styling damp hair: Dry hair is less prone to damage.
- Over‑washing: Shampoo 2–3 times a week to maintain natural oils.
Choosing the Right Straightener
Not all flat irons are created equal. Here are the key features to look for when selecting a tool that minimizes damage:
- Plate Material: Ceramic, tourmaline, or seidolite plates distribute heat evenly and reduce static.
- Temperature Control: Digital displays with preset settings for fine, medium, or coarse hair help prevent accidental overheating.
- Auto‑Shutoff: A safety feature that turns the iron off after a set period of inactivity protects both hair and home.
- Heat‑Resistant Silicone Coating: Silicone layers on plates create a smoother glide, lowering friction and heat exposure.
Advanced Straightening Techniques
Once you master the basics, you can experiment with techniques that further reduce damage:
- Reverse Ironing: Starting at the ends and moving toward the roots can reduce the number of passes needed for thick hair.
- Two‑Pass Method: First pass at a lower temperature to set the hair, second pass at a slightly higher temperature to seal the cuticle.
- Cool‑Down Brush: After each section, use a cool‑down brush to smooth any remaining lift, sealing the cuticle.
Heat‑Sensitive Skin: Styling Without Irritation
If you have sensitive scalp or skin, the heat from a straightener can cause discomfort. These tips help you style safely:
- Use a low‑temperature setting (350°F or lower).
- Apply a thicker layer of heat protectant to create a barrier.
- Keep the iron moving; avoid resting it on the same spot for more than 2–3 seconds.
- After styling, apply a soothing aloe gel or a light serum to calm the scalp.
Professional vs. DIY Straightening
Salon treatments often use higher heat and specialized products. If you choose to do it at home, keep these differences in mind:
- Salons use professional‑grade tools that maintain consistent temperature and have advanced safety features.
- They also apply heat‑protective serums and use techniques like “heat‑setting” to lock in the shape.
- DIY straightening requires meticulous prep and aftercare to match salon results.
Common Myths Debunked
Here are three widespread myths that can lead to damage if taken at face value:
- Myth 1: The higher the heat, the faster the straightening. In reality, excessive heat accelerates protein breakdown, causing breakage.
- Myth 2: Multiple passes are necessary for a flawless finish. One smooth glide at the right temperature is usually enough.
- Myth 3: All heat protectants are the same. Products with silicones or natural oils perform better at sealing the cuticle.
Frequently Asked Questions
Q1: How to straighten hair without damage for fine hair?
A1: Use a low temperature (around 350°F), a fine‑tipped straightener, and a heat protectant. Keep passes short and avoid multiple passes.
Q2: Can I use a flat iron on natural curls?
A2: Yes, but apply a heat protectant, start with a low temperature, and consider using a heat‑resistant silicone plate to reduce friction.
Q3: What is the best heat protectant for damaged hair?
A3: Look for products with silicones, amino acids, and natural oils like argan or coconut. These help seal the cuticle and add moisture.
Q4: How often should I straighten my hair to keep it healthy?
A4: Limit straightening to 2–3 times per week. Allow hair to rest between sessions to regenerate natural oils.
Q5: Are there any natural methods to straighten hair without heat?
A5: Yes. Techniques like banding, rolling, or using a flat surface while drying can keep curls flattened without heat.
Q6: Can I straighten my hair if I have split ends?
A6: It’s best to trim split ends before straightening. This prevents further damage from traveling up the shaft.
Q7: How do I prevent frizz after straightening?
A7: Finish with a lightweight serum, use a cool‑air blast on your blow dryer, and avoid touching your hair throughout the day.
Q8: Is it safe to use a flat iron on colored or chemically treated hair?
A8: Yes, but use the lowest effective temperature and a heat protectant rich in conditioning agents. Consider a protein treatment before styling.
Q9: What should I do if my straightener overheats?
A9: Turn it off immediately, unplug it, and let it cool. Check for any visible damage to the plates before using it again.
Q10: Can I use a straightener on wet hair?
A10: No. Wet hair is more susceptible to heat damage. Always ensure your hair is completely dry before styling.
Leave a Reply